
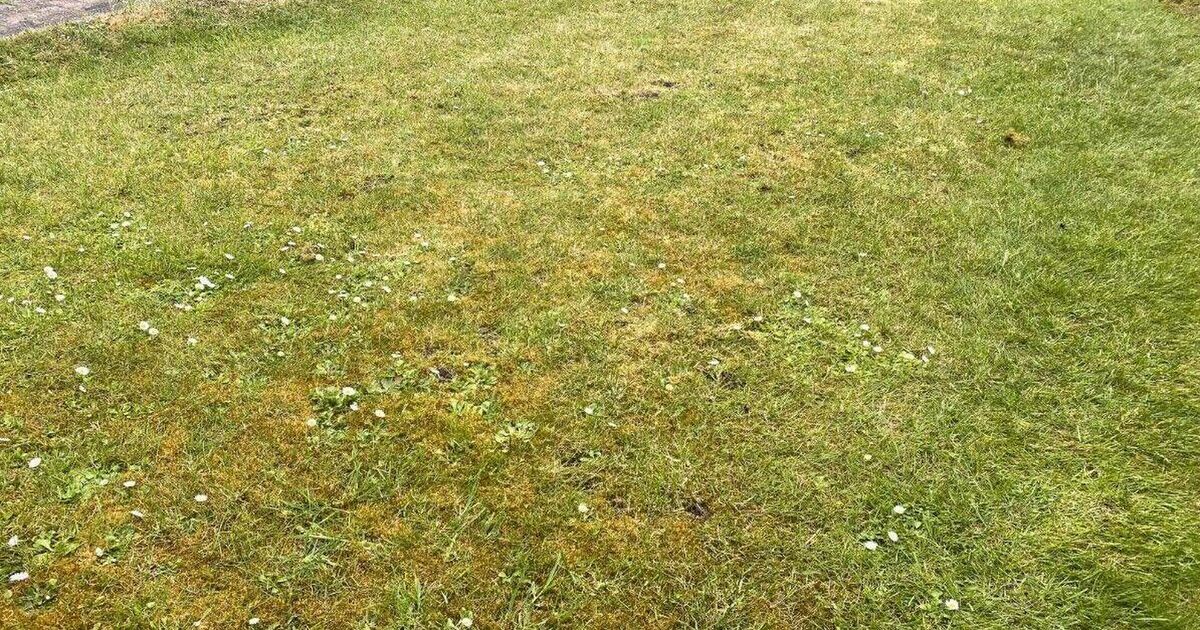

I made moss and weeds disappear from my lawn with Monty Don’s natural 3-hour method (Image: Angela Patrone)
With garden growth speeding up and plants flourishing, summer is the time to enjoy your outdoor space. However, ever since the spring months, my lawn has been completely taken over by moss and weeds, with virtually no healthy grass remaining. Shaded areas, damp soil, poor drainage, and weak grass growth can all create the perfect environment for moss and weeds to spread. Once it starts establishing itself, it can gradually take over thinner areas of the lawn and make it harder for healthy grass to thrive.
Deciding enough is enough, I got to work on finding out the best way to fix my lawn without the need for harsh chemicals. Browsing gardening expert Monty Don’s blog, I came across some advice on reviving lawns through scarification and aeration, so I decided to put it into practice.

Moss and weeds had fully taken over my lawn (Image: Angela Patrone)
Scarifying is a method that strips away excess thatch and moss from the base of the grass to encourage healthier growth.
This is followed by aeration, which involves piercing the soil to improve the circulation of air and water down to the roots.
While Monty Don suggested that a garden rake and fork can be used to scarify and aerate, my lawn is considerably large and severely affected by moss, meaning it would require a substantial amount of time and effort to tackle manually.
Instead, I opted to put an electric scarifier that doubles as an aerator to the test.
The product in question is the two-in-one VonHaus Scarifier and Aerator 2000W. Using this nifty garden gadget, I managed to clear the moss from my lawn and prepare it for overseeding in just under three hours.

I tested out an electric scarifier that also doubles as an aerator to remove lawn moss and weeds (Image: Angela Patrone)

Scarifying is a method that strips away excess thatch and moss from the base of the grass (Image: Angela Patrone)

Your lawn will probably look horrifyingly bare after scarifying and aerating (Image: Angela Patrone)How to scarify and aerate your lawn
Before scarifying and aerating the lawn, I first mowed the lawn to a height of around two to 3cm.
Scarifiers have very sharp blades, so before I got going, it was important to make sure they were correctly adjusted. I adjusted the blades so that they penetrate the ground to two to 3mm. It’s worth testing the depth on a small section of the lawn and readjusting if necessary.
I started by evenly working over the whole lawn in one direction, then turned and went diagonally across the whole area again.
I made sure to move quickly and evenly over the lawn without pausing so that I didn’t damage the turf.
Scarifying can be rather nerve-wracking when you use a machine. As you guide the machine across your lawn, you will witness a path of devastation left behind. I was somewhat taken aback to discover that the collector box was full by the end of the first line to the top of the garden.
There were so many ridges in the lawn at this stage caused by the scarifier’s blades, but following this initial pass, there was still an abundance of moss beneath.
So, I ran my scarifier up and down the entire lawn, from top to bottom. Then, I guided the scarifier diagonally across from the bottom left of the lawn to the top right. And then diagonally from the bottom right to the top left.
My recommendation here is to keep your nerve, as your lawn will likely appear alarmingly threadbare after scarifying and aerating.
Once I’d finished scarifying, it was time to aerate. A swift exchange of the rollers, and the machine was ready to proceed. I turned on the machine and adjusted the settings based on my soil type and how deep I wanted the spikes to go. Then, I walk slowly across the lawn.
Following aeration, the next step in restoring my lawn will be to overseed before applying a layer of top dressing.
Comments are closed.