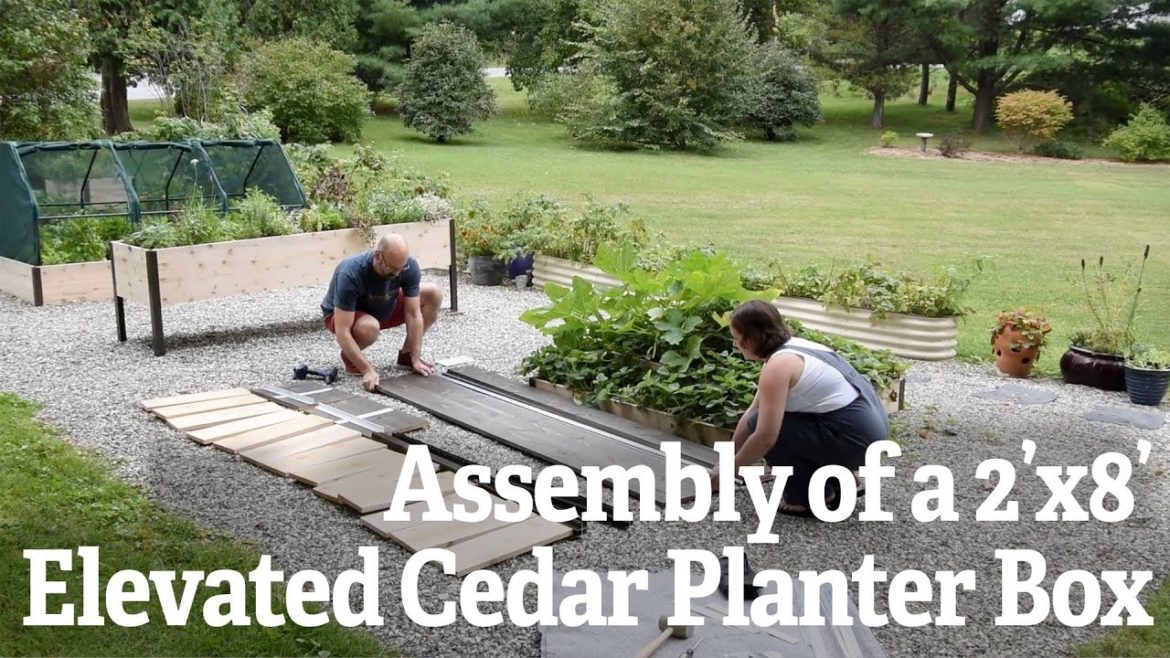
Set up one or more of these rectangular beds around the edge of your patio to create a convenient kitchen garden, or fill them with flowers for a stunning display.
https://www.gardeners.com/buy/planter-boxes-cedar-raised-garden/8587631.html
or
https://www.gardeners.com/buy/elevated-planter-box-2×8-stained/8596760.html


6 Comments
Do the planks at the bottom provide any drainage? I love these.
Just a few additional hints to help. It is CRITICAL that the long planks be seated ALL THE WAY IN the metal corners. If they aren't all the way in – the long metal support will not line up with the holes. I bought two of these planters and paid dearly for not checking that. Also – just a suggestion. The self tapping screws are very susceptible to getting rounded out by a power drill. I'm not an engineer – but a slightly deeper screw head might allow for the torque needed to sink every screw without rounding off halfway in . I started being very careful to slowly drive the screws in with short bursts on the drill. Not shown on the video is the fact that the short side supports need to be UNDER the long supports – since that is where the self tapping hole is.. One last thing: Can some nylon sliders for the bottom of the planters be added ?? Otherwise it's just bare metal on the ground. It the ground is a patio – it scrapes awful.
My Box did not come with instructions or the fabric liner. Should it have been included?
love this raised bed. Is there someplace you can buy the plans for it????
Tip: You may need to sand down the ends of the boards where they connect to the metal leg. Boards can be cupped when you receive them causing them to not fit into the metal leg.
I’m going to rant about everything that I’ve done wrong (a) for everyone’s entertainment, (b) to relieve my frustrations, and (c) so that you all can learn from my mistakes:
1. I attached the 8' boards (side panels) to the corners: one side 1/8" above the corner, and the other side 1/8" below. 😣 (Lesson: make sure the 8’ boards are 1/8" above the corner on every side. And maybe don't start doing this at 8pm while your kids argue about bath time.)
2. I attached the platform support on its wrong side, so I had to unscrew it, turn it, and reattach it, then move the flat supports to the new locations. (Lesson: attach the platform support side with the 2 holes to the 8’ side panel of the bed, and the 3 holes facing downward.)
3. I realized that I had installed the platform supports upside down. Yes, plural. And yes, after I turned one of them around. 🤦🏻♀️ (Lesson: the platform support should attach to the 8' side panel, and the lip of the support should be on top, not below.)
4. While trying to screw the platform support and cross support together (when inserting the 2' pre-assembled end panels) I stripped several screws because the holes won't line up perfectly. I don't have a lesson for this yet, unless it is to get different screws to use. I'm hoping that after a good night's sleep I will have a eureka moment, or at least more patience and less back pain in order to get it assembled. I'm very excited to get this up in my yard!
Other info – their video for the 2×4 bed is much more detailed, talks you through the process, and even has text on the videos showing important information: https://youtu.be/KT7Pe5TrYYo
The long box is a big crowd pleaser for cats and rabbits alike. When I finally get this thing put together and get rid of the box, they're not going to know what to do with themselves. The dog couldn't care less.