

A gardener with over 15 years of hands-on experience has shared his proven 8-step flower planting guide to help your summer garden blooms thrive and avoid common mistakes
Alice Sjoberg Social News Reporter
20:13, 17 Apr 2026
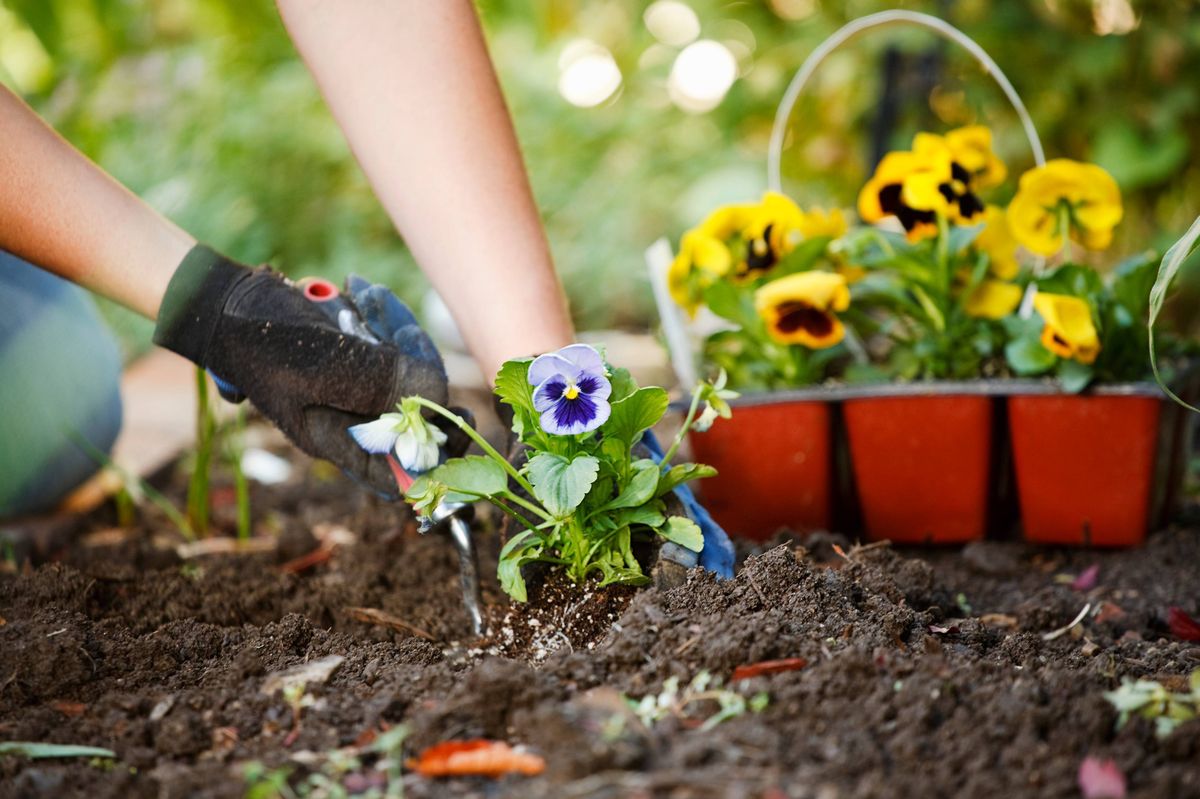
The gardener shared his go-to method of planting new flowers in garden (stock image)(Image: Getty Images)
If you’re envisioning a garden ablaze with colourful flowers this summer, there’s no time like the present to start planting this season’s blooms. Spring offers the perfect window to begin crafting your summer garden paradise.
With numerous flowers already starting to show themselves at this time of year, a trip to your local garden centre to discover the ideal mix of spring and summer flowering varieties couldn’t be simpler.
Even better, a UK gardener called Chris, who brings over 15 years of practical gardening expertise to the table, has shared his eight-step method for successfully introducing fresh flowers to your garden every time, while making certain they flourish in their new home, reports the Mirror.
“My ultimate planting tips when you’re adding something new to your garden borders,” he declared at the start of his TikTok clip. He added in the post’s caption: “These tips have helped me and my plants loads over the years. Give them a try yourself!”
1. Water your plants first
For his initial tip, Chris urged gardeners to always give their flowers a good drink before placing them in the earth, making sure both roots and soil are completely saturated before planting begins.
This safeguards against transplant shock, while providing instant hydration and helping roots to establish themselves. Parched root balls can become water-repellent (hydrophobic), resulting in plant dehydration even when the surrounding soil is moist.
2. Dig a wide hole
The next step involves preparing a hole for your flower. While numerous gardeners might presume it ought to match the plant pot’s dimensions, Chris suggests an alternative method.
“Always dig your holes wider than the pot it’s in,” he said.
Creating a somewhat broader hole than the container will help stimulate the roots to extend outwards. Nevertheless, it ought to match the root ball’s depth to prevent subsidence. Make certain the root ball’s surface aligns with the surrounding earth to prevent stem decay.
3. Use mycorrhizal fungi
After your hole is ready, Chris suggests adding some mycorrhizal fungi. This advantageous soil organism establishes symbiotic connections with plant roots, essentially functioning as a root system extension to boost nutrient and moisture uptake by as much as tenfold.
“This allows for better connection between the roots and the soil,” he explained.
The organism additionally enhances the plant’s ability to withstand drought, speeds up development, and fortifies protection against diseases by trading nutrients like phosphorus for plant carbon.
4. Tease the roots
He likewise advises always loosening the roots prior to planting. This entails carefully separating the root ball with your hands to stop circular development and encourage outward extension into new earth.
“This encourages roots to grow out into the soil,” Chris added. To encourage healthy, robust roots, gently tease the sides and bottom; for severely tangled, root-bound specimens, you might need to employ a knife to slice into the root ball to guarantee the plant’s long-term wellbeing.
5. No compost in the hole
For his fifth pointer, he cautioned home gardeners against putting compost directly into the planting hole.
“This can cause the plant’s roots to stay inside the planting hole,” Chris said. Rather, compost works best when applied as a top dressing.
6. Use a 50/50 soil mix
When filling back around the plant, Chris recommends using half garden soil and half compost. While backfilling with pure compost can trap the plant’s roots within the planting hole, blending it with garden soil helps the plant settle into its new surroundings.
Chris pointed out that this combination will support the plant in adjusting to your garden soil while simultaneously providing instant nourishment to the roots through the compost.
7. Use mudding in technique
“When you backfill, try the mudding technique,” he urged gardeners. This entails making a mixture of soil and water in the planting hole to remove air pockets and minimise transplant shock. This approach proves effective in both spring and autumn and is essential for avoiding root damage during hot or dry spells.
“Trapped air pockets in the soil can cause roots to dry out,” Chris explained.
Simply add soil around the plant, followed by water. Repeat this layering process until you reach the top of the hole.
8. Create a moat
As a finishing touch, Chris recommends fashioning a moat around your plant by using your fingers to form a hollow around the outer edge of the plant.
“The water will be directed down to the roots, where it’s needed, and not into the crown, which can cause rot or introduce fungal problems,” Chris explained.
Want to see more of the stories you love from RSVP ? To add RSVP as a preferred source of news on Google, simply click here
Comments are closed.