

You’ve been staring out the window all winter, dreaming about this moment. Spring is just around the corner, but before you jump into planting, there are a few critical steps you need to complete to set yourself up for success.
Preparing your garden for spring planting is a specific sequence of tasks, some of which most gardeners skip entirely, that sets the entire season up for success or failure. Do them now, before the rush of spring hits, and you’ll work smarter from the first warm weekend all the way to the last harvest.
Here are the 10 tasks that matter most.
1. Do a Full Garden Walk-Through Before You Touch Anything
Image Credit: Shutterstock.
The single best investment of your time in early spring costs you nothing. Take a slow lap around your property with a notepad.
Winter is rough on gardens. Freeze-thaw cycles push perennials out of the ground, branches snap, raised bed walls crack, and irrigation lines develop leaks you won’t discover until you’ve already lost a week’s worth of plants. According to horticulturist Kelly Young of Northeastern University, assessing damage before diving into action is the step that saves experienced gardeners the most time and money all season.
Look for heaved perennials, broken hardscape, damaged trellises, pooling water, and the first signs of early weed activity. This walk sets your priorities for everything else on this list.
2. Prep Your Soil — But Only When It’s Actually Ready
Image Credit: Shutterstock.
Here’s the mistake that quietly ruins more spring gardens than almost anything else: working the soil too early.
Digging or tilling wet soil compacts it, crushing the pore structure that roots depend on for water and oxygen. Sharon Yiesla, plant knowledge specialist at The Morton Arboretum, explains that compacted soil is simply a place where plants can’t grow. The New York Botanical Garden recommends a simple readiness test: grab a handful of soil from about 6 inches deep and squeeze. If it crumbles, you’re good. If it forms a sticky ball, wait a few more days.
Once workable, loosen and turn the soil to a depth of 8 to 10 inches and incorporate 1 to 2 inches of compost. For new beds, the Philadelphia Horticultural Society recommends roughly 30% topsoil to 70% compost for the best structure. Never leave soil bare after prepping; exposed soil dries out faster, erodes easily, and gives weed seeds the light they need to germinate.
3. Test Your Soil Before You Fertilize a Single Thing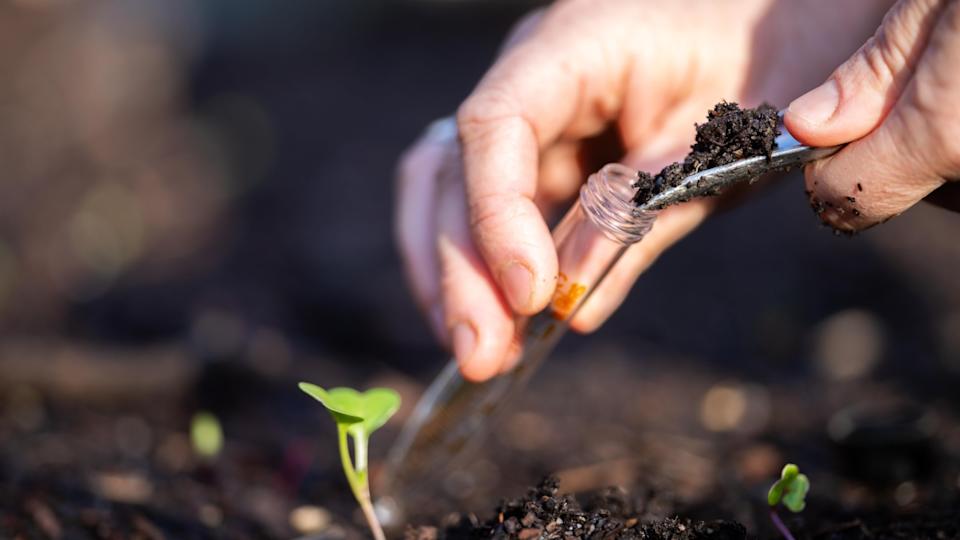
Image Credit: Shutterstock.
Most gardeners fertilize on faith. That’s how you end up with plants that look wrong no matter what you do.
A soil test tells you the actual pH and nutrient profile of your soil, which determines not just what to add, but whether you need to add anything at all. According to the Old Farmer’s Almanac, slightly acidic soil in the 6.0 to 6.5 pH range is ideal for most vegetables, but nutrient availability shifts dramatically if the pH is even a point off. Fertilizing without a test can mean loading up on nutrients your soil already has in excess while missing the one deficiency that’s actually limiting your plants.
Most county cooperative extension offices offer soil tests for a small fee with specific amendment recommendations included. The New York Botanical Garden advises that if it’s your first year gardening in a new space, or if you haven’t tested in five or more years, a soil test is non-negotiable.
4. Amend With Compost
Image Credit: Shutterstock.
Most gardeners reach for fertilizer when their plants struggle. But according to Joe Lamp’l of Joe Gardener, compost does something synthetic fertilizers cannot: it rebuilds the living microbial ecosystem in your soil. Those microbes are what convert organic matter into plant-available nutrients all season long. Feed the soil, and the soil feeds the plants; skip this step, and no amount of fertilizer fully compensates.
Lamp’l recommends applying about 1 inch of compost to established beds a few weeks before planting, giving microbial activity time to establish before roots arrive. Use fully finished compost from a trusted source: questionable compost can carry persistent herbicide residues that stunt crops for an entire season with no obvious explanation.
Healthy soil is the difference between a garden that survives and one that genuinely thrives.
5. Prune Correctly — and Know What Not to Prune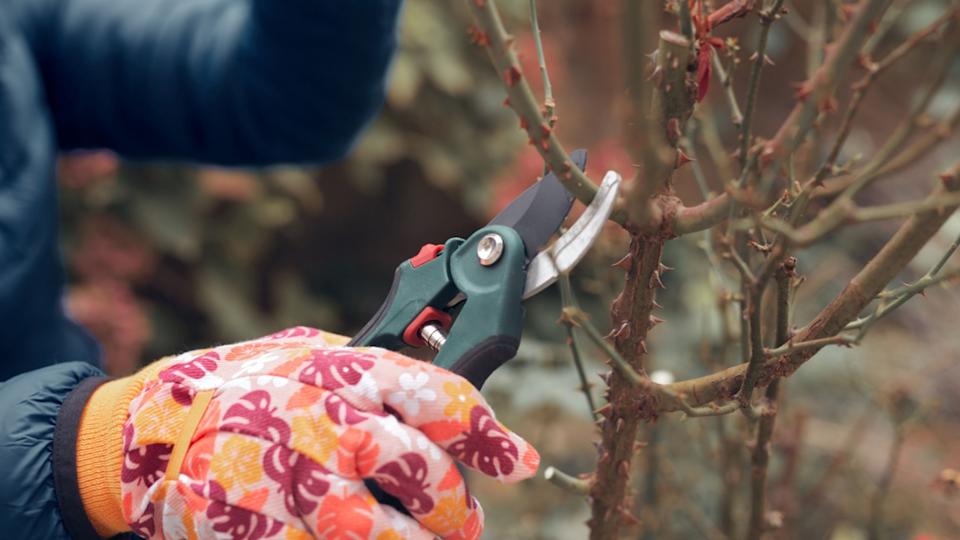
Image Credit: Shutterstock.
Early spring is prime pruning time, but the most common mistake is pruning the wrong plants and losing that year’s blooms before they ever open.
The rule of thumb, as explained by garden expert Carmen Johnston of Carmen Johnston Gardens, is this: if a plant blooms before mid-June, prune it after it flowers, not before. Keep your hands off lilacs, forsythia, rhododendrons, azaleas, spring-blooming spirea, and bigleaf hydrangeas right now. Pruning them in early spring removes the buds they spent all of last year setting.
For roses, limelight hydrangeas, ornamental grasses, and deciduous trees and shrubs that bloom on new wood, early spring is the right window for pruning.
When you do prune, Lamp’l recommends never removing more than one-third of a plant’s living material at once, and always sterilizing your pruners with isopropyl alcohol between plants to avoid spreading disease.
6. Apply Mulch Before the Weeds Beat You to It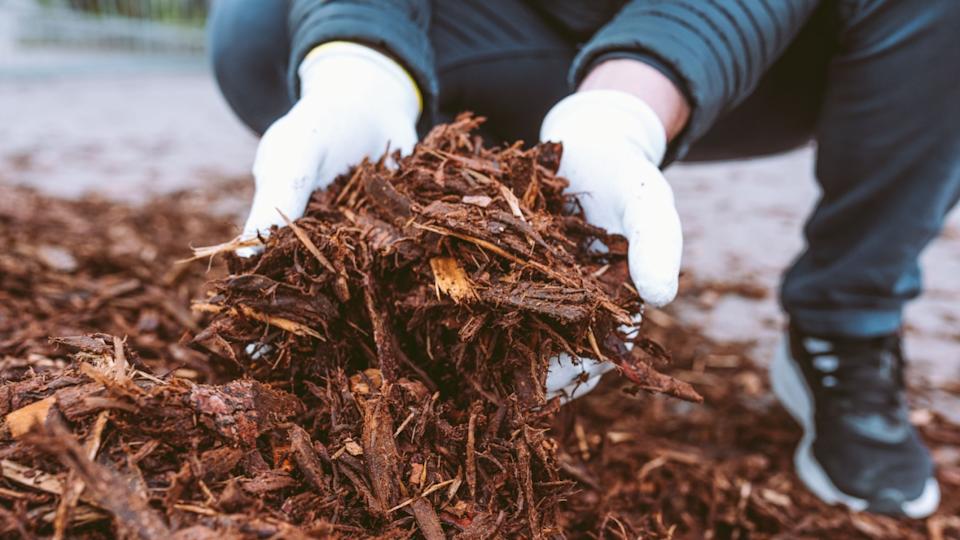
Image Credit: Shutterstock.
A 2-inch layer of organic mulch applied now is one of the highest-return investments you can make all spring, and most gardeners wait until it’s too late to get the full benefit.
According to Lamp’l, mulching before weed seeds germinate blocks the light those seeds need to activate. Wait until your beds are full of seedlings, and mulching becomes a slow, careful job. Do it now, and it takes an hour.
The Morton Arboretum notes that organic mulch also insulates soil against late freezes and retains moisture through dry spells. Use natural, undyed wood chips or shredded leaves, and keep mulch a few inches away from tree trunks and shrub bases; what Kelly Young calls a “mulch volcano” is a classic mistake that creates a direct pathway for disease.
7. Divide Overgrown Perennials Now, While You Can Still See What You’re Doing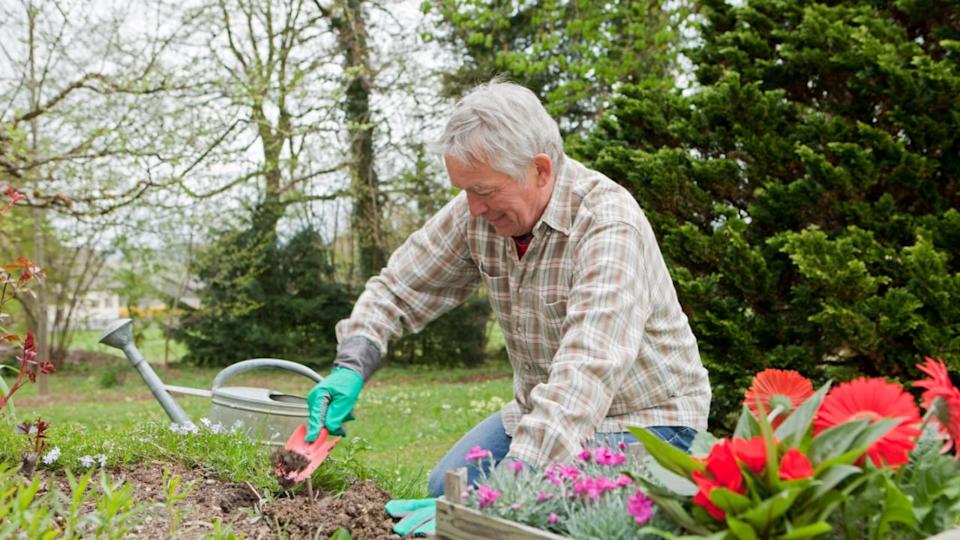
Image Credit: Shutterstock.
Early spring, when shoots are just breaking the surface, is the ideal time to divide fall-blooming perennials and warm-season grasses. Hostas, daylilies, black-eyed Susans, and ornamental grasses all benefit from being divided every two to three years. Dividing crowded perennials restores their vigor and gives you free transplants for other parts of the garden.
Wait until June to divie, and you’ll be wrestling full-size root balls in 80-degree heat. Do it in March after the soil is workable, and it’s a 20-minute job.
8. Start Seeds Indoors on the Right Schedule
Image Credit: Shutterstock.
Most warm-season vegetable seeds, such as tomatoes, peppers, and brassicas, should be started indoors 6 to 8 weeks before your last expected frost. That window gives seedlings enough time to develop without becoming root-bound or leggy. OSU Extension recommends timing transplants by soil temperature, not air temperature, because the soil surrounding young roots directly controls germination rate.
Once seedlings are ready to go out, hardening off is not optional. The Morton Arboretum advises gradually exposing seedlings to outdoor conditions over about a week, increasing sun and wind in stages, to prevent the transplant shock that kills more healthy seedlings than any pest or disease.
9. Inspect Your Irrigation System Before You Need It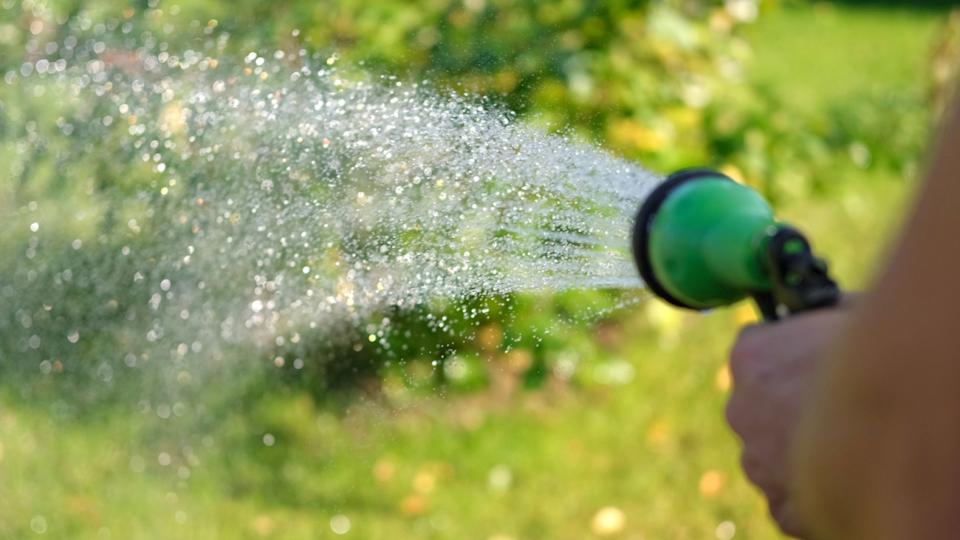
Image Credit: Shutterstock.
Find a broken irrigation line in March, and it’s a 10-minute fix. Find it in May when your beds are planted, and it’s a significant problem.
March and April are the perfect time to conduct a full pre-season inspection, checking sprinkler heads, drip lines, soaker hoses, connectors, and emitters. Turn the system on and monitor it closely before trusting it to a timer. The Morton Arboretum notes that drip and soaker systems lose far less water to evaporation than overhead sprinklers, and strategic grouping of drought-tolerant plants can reduce watering demands significantly over a full season.
10. Clean, Sharpen, and Organize Your Tools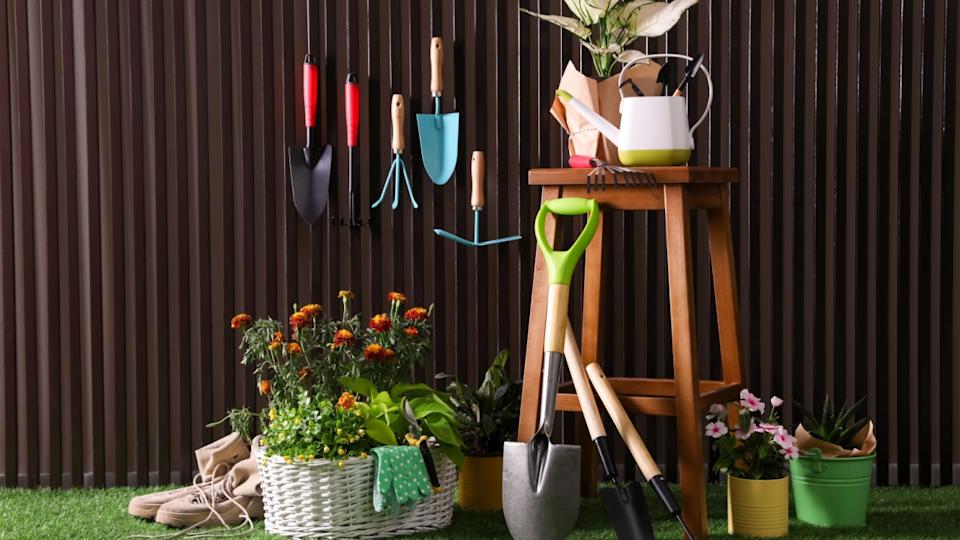
Image Credit: Shutterstock.
Quality tools cared for properly can last a lifetime. Left dirty and dull for a second winter, they start failing at the exact moments you need them most.
Clean rust and grime from all pruners, loppers, shovels, and trowels. Sharpen pruner blades for clean cuts; ragged cuts on woody stems heal slowly and invite disease. For wooden handles, sand lightly and rub linseed oil into the wood to prevent cracking. Shovel blades benefit from a light coat of oil to prevent rust over the season.
Start Now, Harvest More Later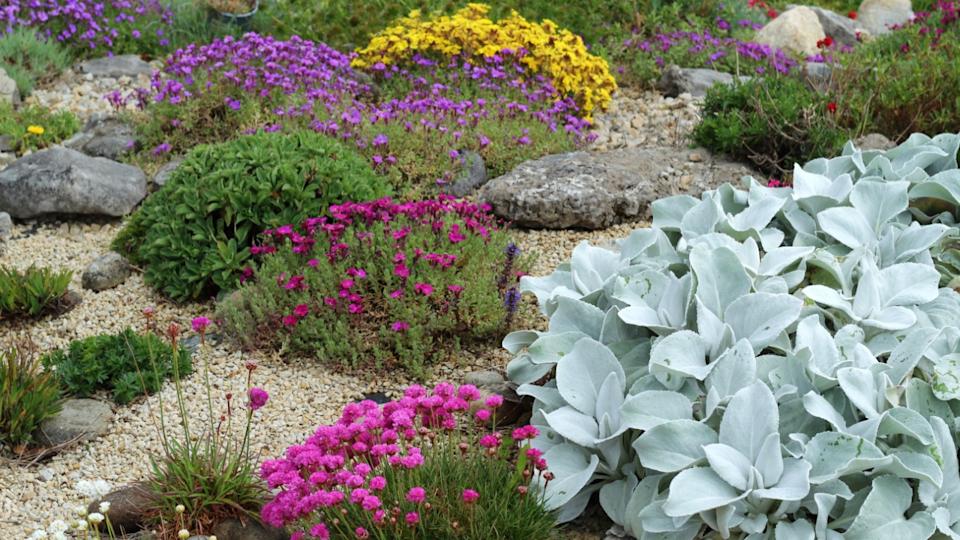
Image Credit: Shutterstock.
Every one of these tasks becomes harder once the growing season accelerates. What takes 20 minutes in March may take two hours in May. The gardeners who make it look effortless by June started working quietly in early spring, before anyone else was paying attention.
Work through this list at your own pace. By the time your last frost date arrives, you won’t be scrambling. You’ll be planting.
Read more
How to save snow-damaged trees and shrubs after winter storm Hernando
Don’t let your plants die while you’re on vacation: 7 genius hacks
Comments are closed.