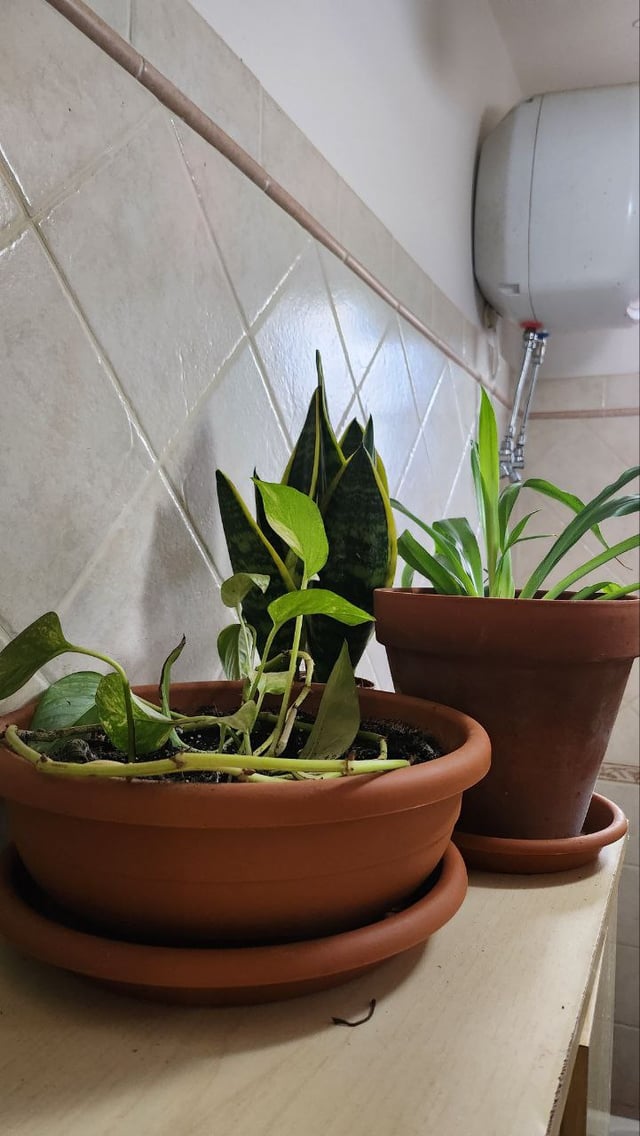
SUBSTRATE : Chunky aerated substrate if you tend to water too much. A layer of rock at the bottom, chunky orchid bark mixed with clay pebbles and perlite and tropical soil. Try to create a gradient from chunky at the bottom to slowly finer at the top by mixing the bottom and slowly adding more and more tropical soil on top. This is my recipe for pots without and with drainage holes. People will scream at you if you don’t have drainage holes, that’s why you have to adapt your soil accordingly (chunkier so it can dry faster). But in your case, priorities pot with drainage holes
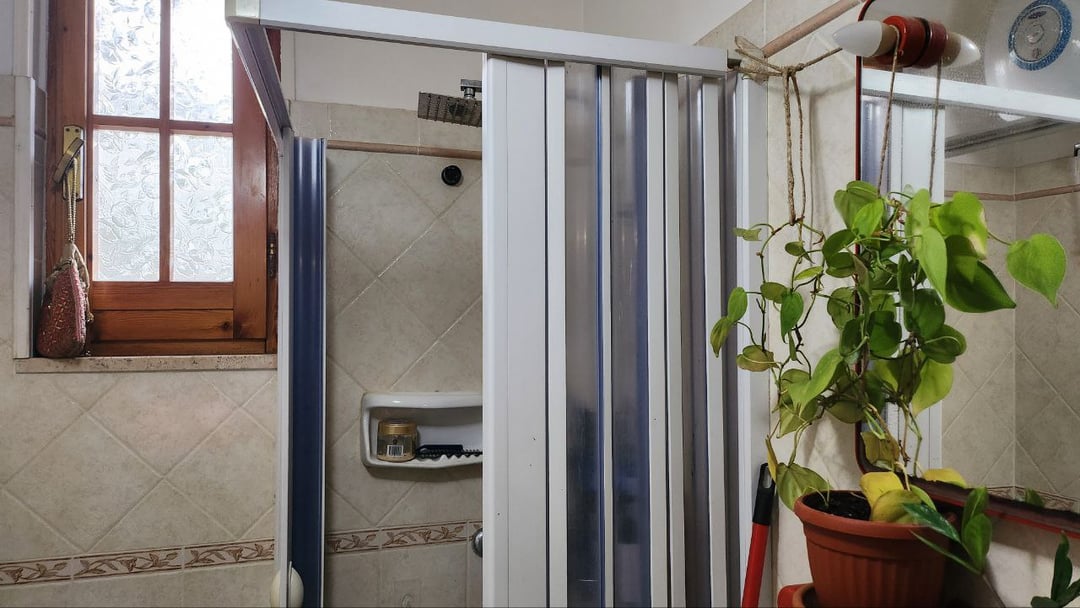
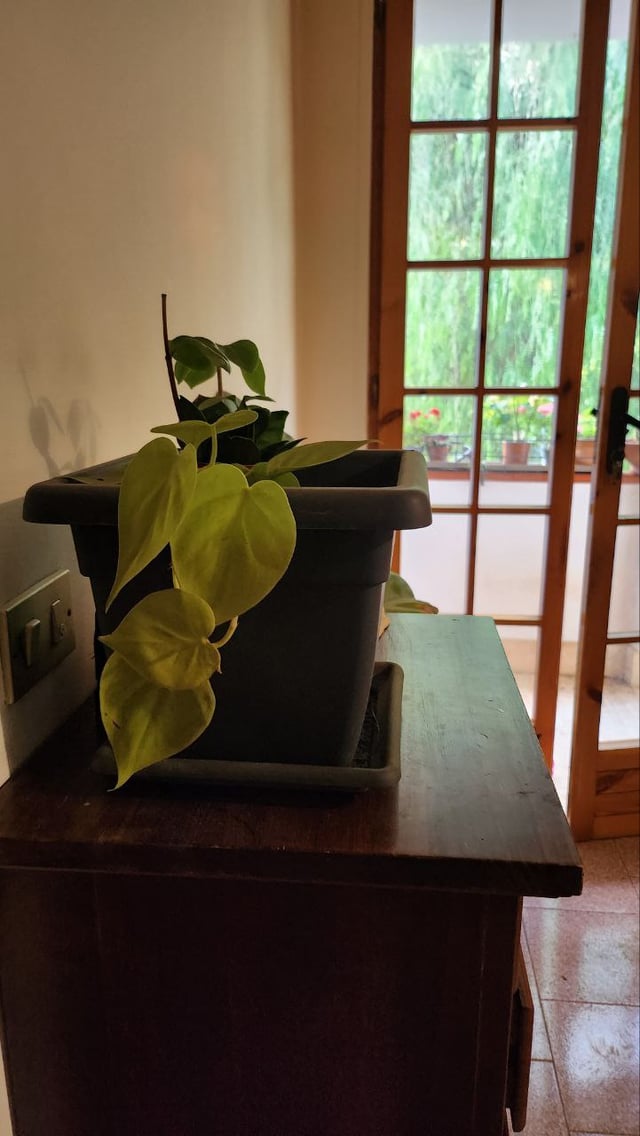
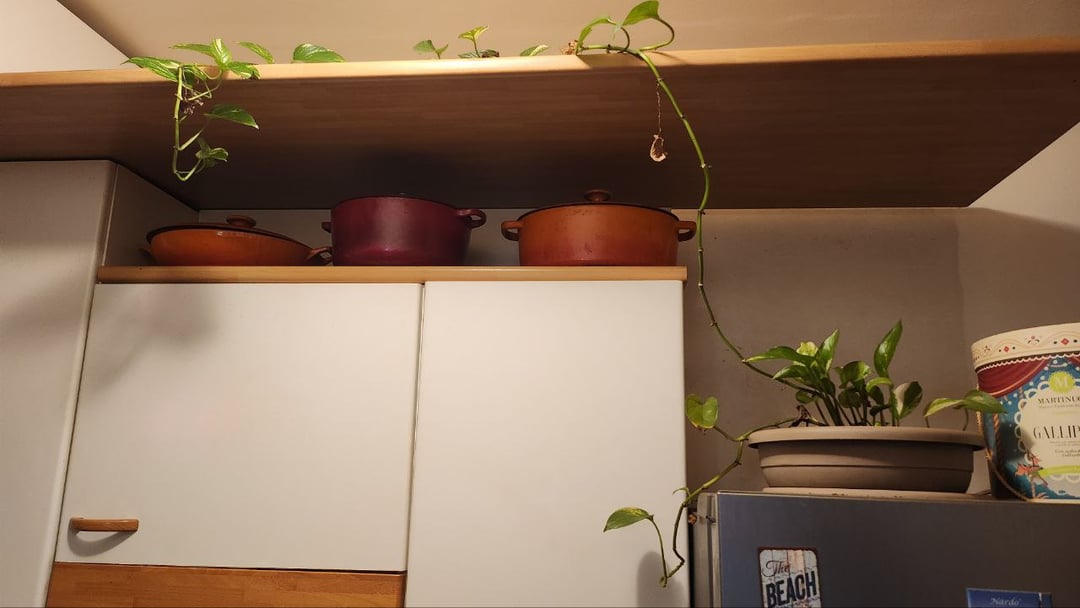
LIGHT: East exposure next to a window so it can get direct morning light. For South and Ouest windows, place it farther from the window so it gets a bright indirect light (direct light may give it sunburns and will stunt its growth). For a North window, place your pothos as close as possible to the window (just watch out if it gets really cold, place it a bit farther in that case) and you can place a lamp next to it to give it a boost during winter. More light means a higher photosynthetic rate, meaning a higher evapotranspiration rate and therefore, a higher water intake. In short, your plant will drink more water faster, making your substrate dry faster and less chance of root rot. The same logic applies to a plant with more leaves, the more leaves, the more water it will absorb.
WATER SCHEDULE:
With drainage holes, you can give it a shower in your sink and you can let the water fully drain out before putting it back in his plate. Water it when the first 2-3 inches are completely dry. If they dry out for too long, the older leaves will turn yellow and fall.
Stick method : You can use the stick method to see if your plant is ready to be watered which consists of putting a stick 3-4 inches in the soil, take it out and look how dirty it got. If the soil is damp, the stick will be dirty, no need to water. If it’s moist, you’ll see a bit of dirt sticking to it. In bright light and hot conditions, I’ll water at that stage, but not during winter. When it’s clean, time to water. You can put a little post-it on each of your pots saying the amount of days before watering. If you are a real plant freak like me, but still struggle to keep a consistent and regular watering schedule, you can also directly write into your calendar which plant needs to be watered on which day and include that into your daily routine. You’ll know that in your home with your specific conditions, each plant will need a specific watering schedule that will certainly differ from someone else’s home.
PROPAGATION
Chop your current plant, propagate them in clean water in a luminous indirect light (direct lights cause algae growth that can make your cuttings rot). It’s normal for the older leaves to turn yellow, but wait until the older leaves are crispy dry before removing it. Your plant is recycling the nitrogen and magnesium from the chlorophyll and the other nutrients as well, making it lose its green color and exposing the yellow pigments of the leaves (that’s why the leaves turn yellow), to redistribute it to the new leaf and/or root growth points. Never let it go dry, change the water if it gets dirty and plant your cuttings when their root system is at least 15-20 cm long.
You can find nice wall propagation stations on Amazon. I prefer vials because the new roots grows in a more confined shape. Ballon shaped glass bottles allow the root to grow in a large shape, making it harder to remove the cuttings without breaking the roots.

1 Comment
Here’s the condition you should try to provide :
SUBSTRATE : Chunky aerated substrate if you tend to water too much. A layer of rock at the bottom, chunky orchid bark mixed with clay pebbles and perlite and tropical soil. Try to create a gradient from chunky at the bottom to slowly finer at the top by mixing the bottom and slowly adding more and more tropical soil on top. This is my recipe for pots without and with drainage holes. People will scream at you if you don’t have drainage holes, that’s why you have to adapt your soil accordingly (chunkier so it can dry faster). But in your case, priorities pot with drainage holes
LIGHT: East exposure next to a window so it can get direct morning light. For South and Ouest windows, place it farther from the window so it gets a bright indirect light (direct light may give it sunburns and will stunt its growth). For a North window, place your pothos as close as possible to the window (just watch out if it gets really cold, place it a bit farther in that case) and you can place a lamp next to it to give it a boost during winter. More light means a higher photosynthetic rate, meaning a higher evapotranspiration rate and therefore, a higher water intake. In short, your plant will drink more water faster, making your substrate dry faster and less chance of root rot. The same logic applies to a plant with more leaves, the more leaves, the more water it will absorb.
WATER SCHEDULE:
With drainage holes, you can give it a shower in your sink and you can let the water fully drain out before putting it back in his plate. Water it when the first 2-3 inches are completely dry. If they dry out for too long, the older leaves will turn yellow and fall.
Stick method : You can use the stick method to see if your plant is ready to be watered which consists of putting a stick 3-4 inches in the soil, take it out and look how dirty it got. If the soil is damp, the stick will be dirty, no need to water. If it’s moist, you’ll see a bit of dirt sticking to it. In bright light and hot conditions, I’ll water at that stage, but not during winter. When it’s clean, time to water. You can put a little post-it on each of your pots saying the amount of days before watering. If you are a real plant freak like me, but still struggle to keep a consistent and regular watering schedule, you can also directly write into your calendar which plant needs to be watered on which day and include that into your daily routine. You’ll know that in your home with your specific conditions, each plant will need a specific watering schedule that will certainly differ from someone else’s home.
PROPAGATION
Chop your current plant, propagate them in clean water in a luminous indirect light (direct lights cause algae growth that can make your cuttings rot). It’s normal for the older leaves to turn yellow, but wait until the older leaves are crispy dry before removing it. Your plant is recycling the nitrogen and magnesium from the chlorophyll and the other nutrients as well, making it lose its green color and exposing the yellow pigments of the leaves (that’s why the leaves turn yellow), to redistribute it to the new leaf and/or root growth points. Never let it go dry, change the water if it gets dirty and plant your cuttings when their root system is at least 15-20 cm long.
You can find nice wall propagation stations on Amazon. I prefer vials because the new roots grows in a more confined shape. Ballon shaped glass bottles allow the root to grow in a large shape, making it harder to remove the cuttings without breaking the roots.
I hope it helps 😁