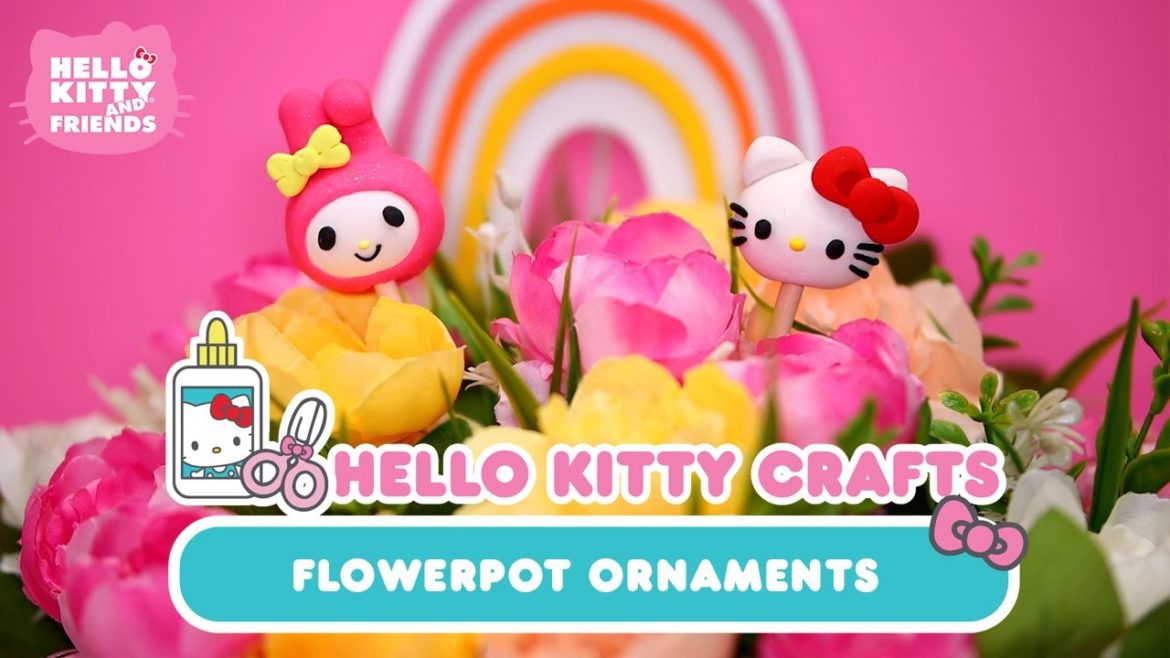
Hello Friends! Today we’re going to show you how to make supercute clay flowerpot ornaments featuring Hello Kitty, and our Friend of the Month, My Melody! These cute little decorations are perfect for adding a touch of color to your favorite plants, and make great gifts for friends and family too. This is a perfect craft to bring spring into your home any time of the year!
Subscribe to the channel for new weekly videos: http://bit.ly/HelloKittyFriends
Materials Needed
White, red, black, and, pink, and yellow polymer clay
Clay shaping tools
Paper
Makers
Scissors
Wooden dowels
Baking Sheet
Glue
Step-by-Step Instructions:
(00:56) Step 1: To make Hello Kitty’s head, roll white clay between your hands into an oval. Make sure your hands are clean to avoid getting smudges on the white clay. Make two triangles for her ears and place them on either side of her head.
(01:23) Step 2: To make Hello Kitty’s bow, use red clay to make two small circles. Wth the end of a paint brush or skewer add an indentation to each circle. Connect them with a third red circle in the middle and place the bow at an angle on her head.
(01:41) Step 3: Push a dowel or skewer into the bottom of Hello Kitty’s head. Using black clay, make two small ovals for her eyes, and three whiskers for each side of her face. Finally a little yellow oval for her nose.
(02:01) Step 4: To make My Melody, roll white clay between your hands into an oval. Roll out pink clay and place over the top of her head. Roll out more pink clay to make her ears, make sure to bend over left ear and place them on top of her head. Push a dowel or skewer into the bottom of My Melody’s head.
(02:28) Step 5: To make My Melody’s face, use black clay and roll out two small black ovals, place them towards the outside of her face. Make a small curved line for her smile and with yellow clay make a tiny oval for her nose. To make My Melody’s bow, make two rounded triangles out of yellow clay and a circle in the middle.
(03:01) Step 6: It’s time to bake your ornaments! Follow the baking directions on the back of the clay package. To finish, cut out paper tags and write the names of your plants or seeds on them. Once your clay is baked and cooled, use a little bit of glue to add your tags.
Now place them in your flowerpots. You can also create your own designs for your flowerpot featuring other characters like Pompompurin or Cinnamoroll. We know My Melody and Hello Kitty will love them! Happy crafting!
If you want to see more supercute content from Hello Kitty and Friends, check out these fun playlists:
Recent Activities: http://bit.ly/32SjBIu
Supercute Adventures | Season 6: bit.ly/3izoVwH
Supercute Adventures | Season 5: https://bit.ly/3I4JdGU
Supercute Adventures | Season 4: https://bit.ly/3ppBQ4s
Supercute Adventures | Season 3: https://bit.ly/3q0zKt1
Supercute Adventures: https://bit.ly/2HfWT6f
Sweet Moments with Hello Kitty: https://bit.ly/2YGmGuc
Hello Kitty Crafts: http://bit.ly/30DLgfi
Hello Kitty Cooking Fun: http://bit.ly/2uSBZnA
Let’s Play, Hello Kitty!: http://bit.ly/2u6skts
Unboxing!: http://bit.ly/362LhKN
Gudetama: http://bit.ly/2R4HsAA
Subscribe & Follow:
https://www.facebook.com/hellokitty
https://www.facebook.com/sanrio
https://www.instagram.com/hellokitty
https://www.instagram.com/sanrio
Tweets by hellokitty
http://www.tiktok.com/@hellokitty
http://www.tiktok.com/@sanrio
#HelloKittyandFriends #HelloKitty #MyMelody


28 Comments
Can you make Hello Kitty music videos that features the Mattel Hello Kitty and Friends dolls?
I love hello kitty do you notice me if you notice me can you ping me?? in a couple days it’s my birthday on February 2 and I’m having a HelloKitty birthday!
ハローキティちゃんお疲れ様です😌💓おはようございます☺️楽しみです😌💓かわいい🎀です
ok
I’m going to draw them and make the little figurines
Won''t it burn tho if you put it in the oven with a wooden stick attached?
hii
Hi
Cinnamorolls Bad Day Pls~
I love sanrio soo much!! 😀 💗
i love it!!!
🌈🌷💐🌹🪻🪷🏵️🌻🌼💮🌺🌸💞💕💕💝🥰😊🤗☺️😍
oh my god flowerpot is cute! 😍
Can u make sweets?
Love it
fac
Super cute
❤❤❤❤❤❤❤❤❤❤❤❤❤❤❤❤❤❤
MISS JAIME FUDGE PARKER Catdog Matthew Warm Mr.Greenwood Voice
Miss JAIME FUDGE PARKER Peanut Butter Las Vegas MAtthew Formula Mr.Greenwood Voice
so so adorable love it 🤩🤩🤩
Ok
Hiiiiii so cuteeeeeeee
This made me wanna garden 💕
But how did you draw kuromi she is so cut,e
can you do ai generater
i am 100% making these, cinnamoroll and kuromi!
So adorable love it