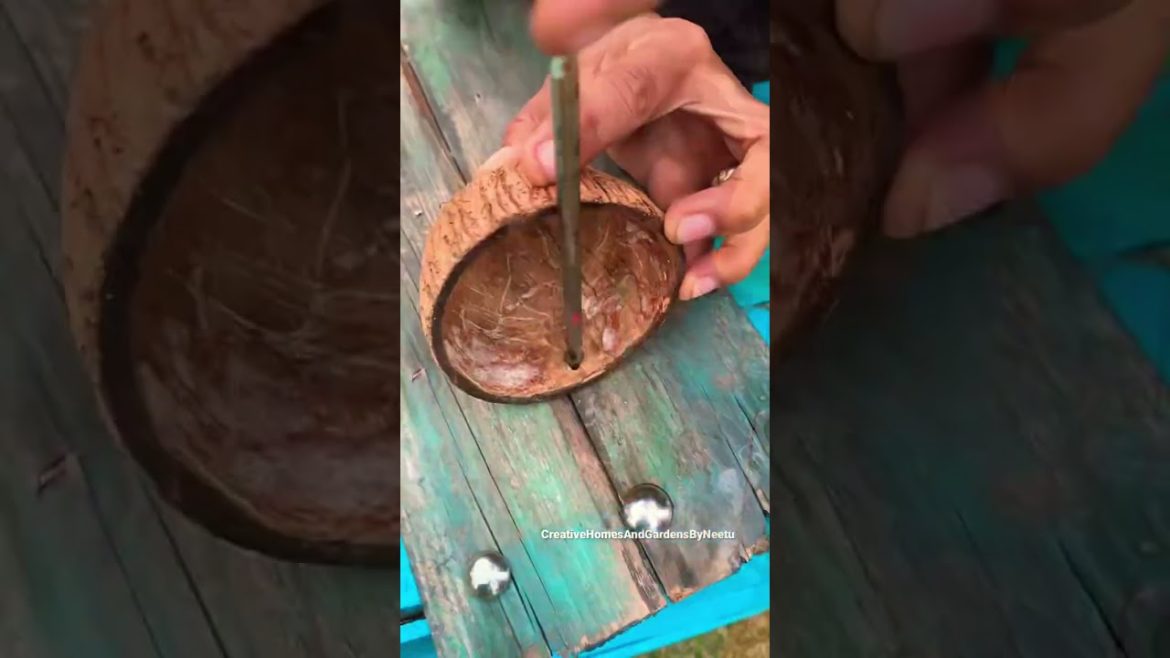
COCONUT SHELL DIY
🤩Enjoyed so much making it, hope you all enjoy watching it. I hope the steps shown are clear, if not I am listing down here. Any confusion, just write to me 🤗
Steps to make this DIY:
Coconut are given this perfect cut using hand saw. With drill machine made two holes in the coconut half – one at the bottom for drainage hole and second on the side to screw the coconut on wooden board.
Gave finishing to coconut shell using sandpaper. However, kept a few coconut rough, I love the natural rough look. So keep as per your taste. ☺️
Took wooden Patti in the natural form available. They are so old that they have this beautiful texture. This old look can be easily recreated using brown acrylic paint. Dilute it with water and give rough strokes with a brush or sponge.
Added board pins just to add extra beauty. It’s optional though😉I like to make things beautiful 🤩
I added succulents since they have shallow roots and this coconut container is perfect for them. If they outgrow simply trim. 🥸
To hang I put two nails at the back and wrapped binding wire. Simple isn’t it. If you have any hook 🪝 with you, use that.
Now keep this sturdy and rustic arrangement anywhere, outdoor or in your balcony, but make sure succulents get 3-4 hours of sun so they grow well. Extra tip – water then once in 10-12 days in winter.
And the steps end here, now it’s your turn to respond. Do let me know how you found it. If liked it then do leave a comment and please share with others 😍🥹
#diyideas #succulentarrangement #succulents

