

Credit: lostinbids / Getty Images
Key Points
Seeds and transplants require specific soil temperatures to germinate and thrive.
Simple, easy tests you can do at home reveal key information about soil condition.
Start by clearing garden areas of weeds and debris, but wait until your soil’s warm to work it for planting.
Warm, sunny days in early spring tempt us to start sowing seeds and setting out transplants. Now is a good time to start checking soil condition, but planting may need to wait. Here are some pointers about how to tell when your soil is ready for planting this spring.
Soil Temperature
Optimal temperature for sowing seeds, including those for cool-weather crops, is 50°F. For setting out transplants, the ideal soil temperature depends on plant type. Cool-weather seedlings like cabbage and broccoli thrive when soil temperature ranges from 50°F to 65°F, but tomato and pepper transplants grow best at 70°F.
Testing with a thermometer is the most common and accurate method. Digital or instant-read probes work best. Thermometers specifically designed for soil can be found at farm and garden supply stores and on the internet.
Measure temperature in the morning before the sun reaches the soil surface. This gives the lowest temperature of the day and is the correct reading to determine if it’s warm enough for planting. Choose an area of bare ground and insert the probe 2- to 4-inches for several minutes. Repeat the test in areas with different sun exposures.
Look for activity in your soil.
Look for earthworm, ground beetle, ant, and spider activity in the garden—all signs your soil is warming and waking up after winter dormancy.
Soil warms up when solar radiation at the surface penetrates to increase the temperature. Water conducts and holds heat better, so dark, moist, bare soil warms more quickly than dry soil or areas covered by mulch, cover crops, or weeds. Microbial activity also generates heat for higher temperatures below the surface.
Remove weeds and debris from the planting area to accelerate warming and reduce overwintering weeds and pests. Solarization raises soil temperature quickly. Clear, thin plastic attracts and holds solar radiation, allowing it to pass through and increase heat at depths of 6 to 18 inches. It also limits evaporation for better conductivity.
Soil Moisture
Water and evaporation rates affect soil conditions and serve as another indicator of planting readiness. Rototilling or turning over wet soil causes compaction with a negative impact on plant roots and microorganisms.
Obvious signs of saturated soil include pooling water, footprints that fill with water or leave deep imprints, and surface mold. If the surface looks and feels dry, you still need to check below.
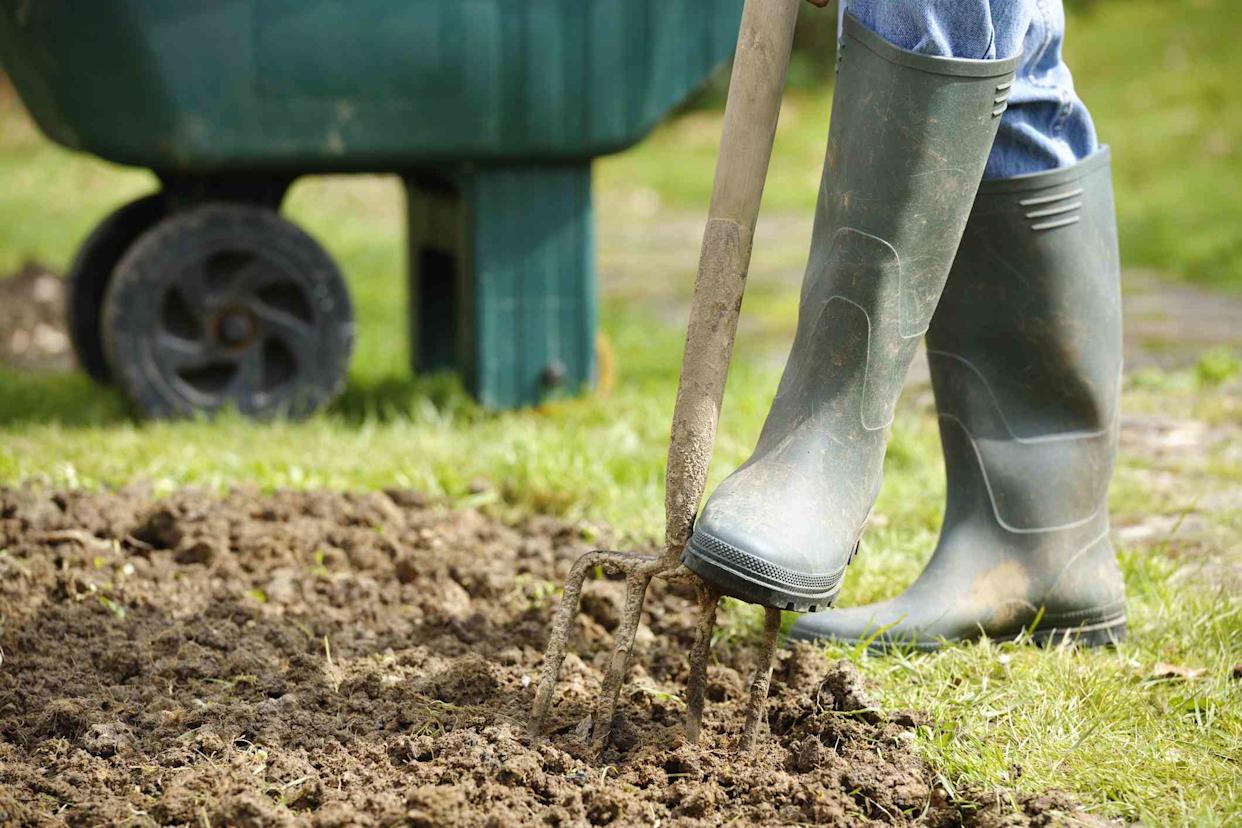
The ball test to check soil moisture is free and easy. All you need is a shovel and your hand. Dig down 4 to 6 inches in areas to be cultivated. Scoop up a handful of soil from the bottom of the hole and form it into a ball.
Now, squeeze to break the ball apart. If it crumbles easily, your garden soil is ready for working. If it remains sticky or slick, hard, and resists breaking apart, give the area more time to dry out.
Moisture meters are handy tools for checking moisture in garden soil, potted plants, and houseplants. They give accurate readings of moisture at different depths, and some include temperature and humidity levels.
Working in compost and other organic materials, like shredded bark, straw, or dried leaves, improves drainage, which prevents oversaturation and speeds drying.
Soil Texture
Ideal garden soil is made up of nutrient-rich loam with a neutral to slightly acidic pH. Improving and maintaining texture and balanced pH is an ongoing process. Use of chemical fertilizers, pesticides, and herbicides, repeated mechanical working with machinery, and heavy foot traffic can create a condition called hardpan. It’s a dense layer of soil underneath topsoil with a concrete-like texture, low pH, poor drainage, and aeration, causing poor root development and stunting.
Checking soil texture and pH allows you to make necessary adjustments by working in amendments before planting. Do a simple pH home test or take a soil sample to your local extension office for a complete profile, including any nutrient deficiencies. Agents can suggest remedies and information about how to make improvements.
The ribbon test is an easy, inexpensive, home method to check texture. Dig a hole 4 to 6 inches deep and scoop a handful of soil from the bottom. Form it into a ball, then, using your thumb and forefinger, squeeze out a ribbon of soil. The length of the ribbon gives basic information about the texture.
Clay soil will ribbon to 2 inches or longer. Loamy soil ribbons for about an inch before breaking. Sandy soil breaks easily and may not ribbon or even form a ball.
Adding aged manure, compost, and organic materials annually replenishes soil nutrients, improves soil condition, and helps maintain the proper pH necessary for good growing conditions. Add a 2- to 4-inch layer of organic materials on the surface to dig or till once the soil is dry enough to cultivate.
Read the original article on The Spruce
Comments are closed.