

Did you hear about the gardener who tried making an herb garden in the shape of a clock? It was a waste of thyme.
Herbs continue to be popular with gardeners. Instead of buying herb starter plants, it’s not difficult to start our own from seed indoors. In fact, we can grow most flower and vegetable transplants if we follow a few key steps.
My wife, Mary, and I operated our own garden center for about 25 years, and produced countless cell packs and pots of vegetable and flower transplants.
The same time-honored methods used to start seeds and produce plants in a commercial greenhouse can be adapted for starting seeds successfully in our homes.

Here are the tips I use to grow all our own starter plants in our basement under lights.
It’s important not to start too early. Seed petunias, snapdragons, dusty miller, coleus, herbs and vinca the first week in March. Around March 15, seed broccoli, cauliflower, cabbage, peppers, eggplant. On April 1, seed tomatoes and marigolds. On April 15, seed zinnias, cosmos and nasturtiums.
Trays for starting seeds should be at least 2 inches deep. Recycled clear plastic containers from bakery or deli, with holes poked in bottoms, create ideal miniature greenhouses for seed starting.
Don’t attempt to seed directly into the final cell packs or pots. Instead, follow the method used in greenhouses by planting seeds in trays, coaxing them to germinate and then transplant the seedlings into the final cell packs or small pots. The transplant operation imparts vigor to the seedlings, making them sturdier and less spindly.
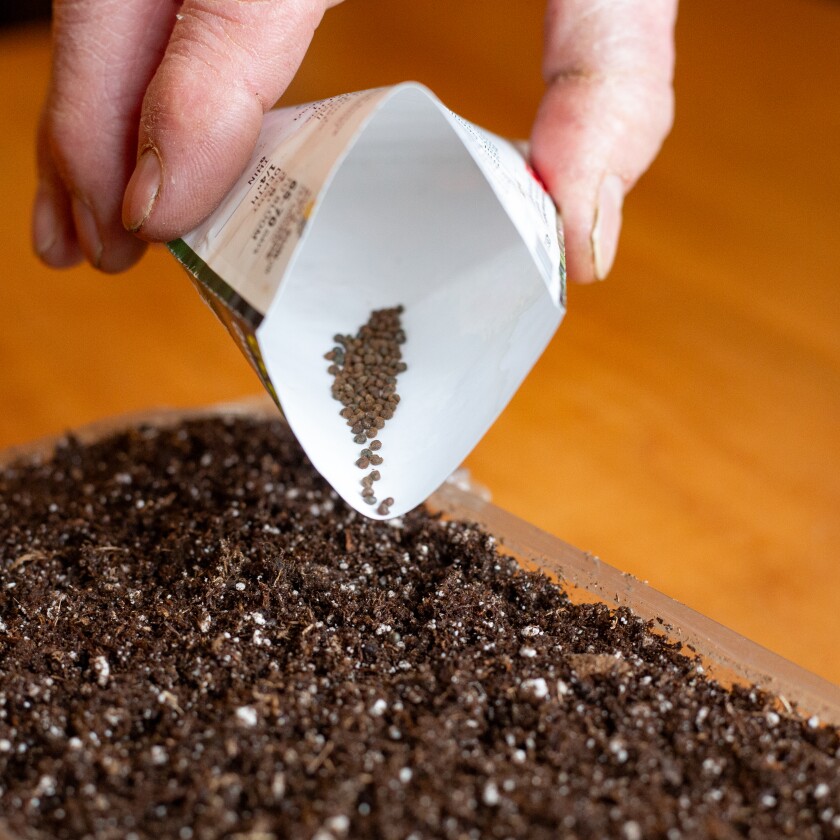
Tiny seeds can simply be sprinkled on the surface of the mix.
Chris Flynn / The Forum
Use a mix specifically labeled for seed starting, which is milled finer than standard potting mix. The day before using, open the bag, add water, stir to distribute moisture and close the bag. Dry mix is difficult to seed into.
Fill the seed tray completely to the top with mix. Bounce it on the table to settle, and top off if needed. The goal is to utilize the entire depth of the container, which allows more root space and the higher profile helps gravity pull water through the mix effectively.
Seeds can be broadcast over the surface of the mix, or sown in rows.
Planting depth is important and is often shallower than we might expect and many seeds are very tiny. My rule of thumb is this: after you’ve sprinkled the seeds on the surface, if they’re so tiny you can no longer see them, don’t cover with seeding mix. For larger seeds that are visible on the surface of the mix, lightly cover with just enough mix so you can no longer see the seed.
Label with the variety and date. Labels are available at garden centers or online, but plastic milk jugs can also be cut into labels.
Water gently with lukewarm water. If a gentle sprinkling can or nozzle isn’t available, place the tray in a shallow water-filled container until the mix has absorbed moisture and is shiny-dark on the surface.
Cover the seed tray with clear plastic wrap, or the clear lid that came with the bakery or deli container.
Place the tray in a warm location, with the goal of keeping the mix between approximately 72- and 78-degrees Fahrenheit. Seed germination mats are available at garden centers and online. I have four, and consider them a must-have for seed germination.
I prefer to place seed trays under LED lights immediately after sowing, so tiny germinating seedlings will have instant access to good light, keeping them strong and preventing the stretched, spindly plants that are common when light levels are low.
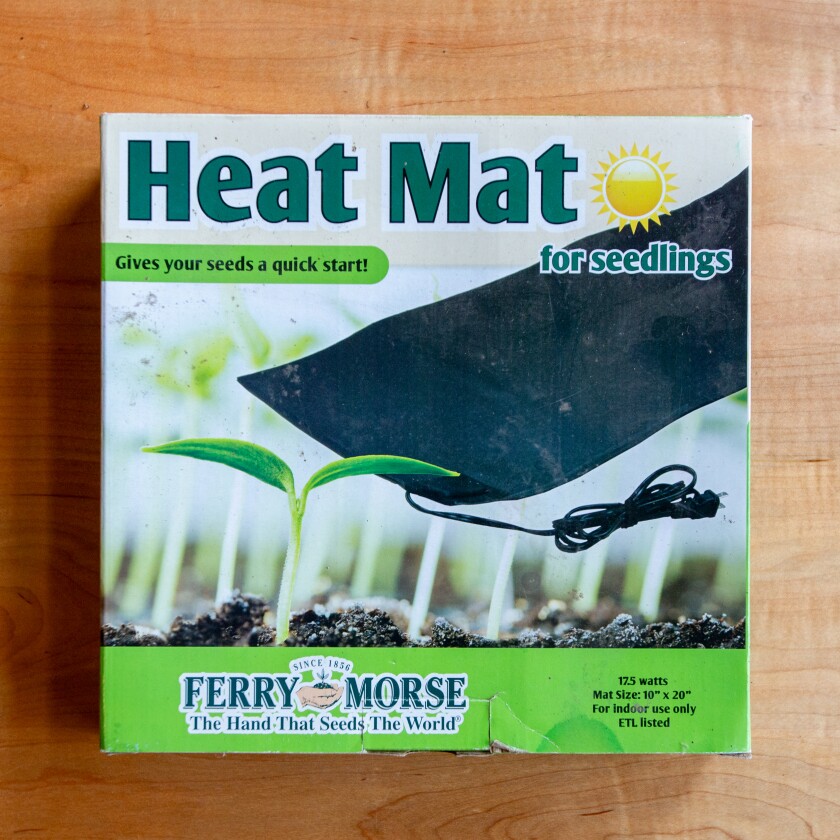
Seedling heat mats provide warmth that is necessary for seeds to germinate.
Chris Flynn / The Forum
If the seed tray is well-moistened after sowing and kept covered, it usually won’t require additional watering until after seeds have sprouted and seedlings appear.
As soon as a majority of the seedlings appear, remove the clear plastic wrap or lid to allow air circulation. Most seeds require seven to 14 days for germination, which depends greatly on temperature.
When a majority of the seedlings have emerged, remove the seed tray from the heat mat.
Small fans running at low speed create sturdy seedlings and can reduce disease.
After germination, light continues to be vital. Fluorescent or LED tubes or special plant lights should be kept about 2 inches above the seedlings. Lights can be kept on 24 hours a day for most plant types, or use a timer set for 16 hours of light and 8 hours of darkness.
Seedlings can be grown in windows if they receive direct sunshine for most of the day.
Seedlings can be fertilized with a half-strength water-soluble fertilizer after the set of “true” leaves appear.
When seedlings develop their first set of leaves, they’re ready for transplanting into individual cell packs or small pots filled with high quality potting mix for growing on.
In last year’s NDSU Field-to-Fork series, I presented a program detailing seed starting, available here:

Don Kinzler, a lifelong gardener, is the horticulturist with North Dakota State University Extension for Cass County. Readers can reach him at donald.kinzler@ndsu.edu.
Comments are closed.