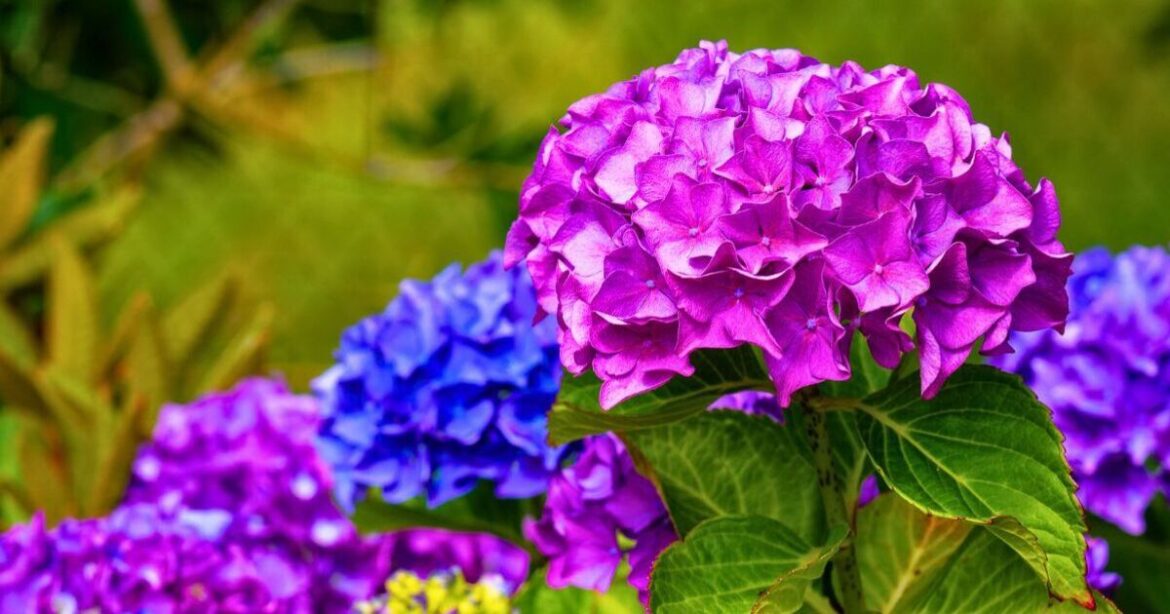
Hydrangeas will have begun to fade in late November, but gardeners should not make the mistake of neglecting these flowers just because they are turning brown. November can be an unpredictable month as temperatures can quickly plummet below zero at night while the days remain quite mild or even sunny.
These fluctuations can cause plant roots to repeatedly freeze and then thaw out, which increases the risk of frost damage, rot, or even death over winter. Hydrangeas, in particular, are very sensitive to cold, and if gardeners do not protect them now before the ground completely freezes, they are unlikely to flower in the spring. However, the gardening experts at Longfellow’s Greenhouses, keeping hydrangeas safe is very easy, as you just need to take a few minutes to mulch them properly.
They said: “This mulch insulates the roots and crown of the plant especially during winters with little snow and very cold temperatures (deep snow actually acts as a good insulator, so winters with little snow are hard on the plants that would typically be buried under the insulating layer of snow).
“Don’t mulch too early as this can invite rodents to make their homes against your plant, and can also lead to rotting and disease if things haven’t frozen up yet.”
Mulching is a simple gardening technique of covering the topsoil around a plant with material that will insulate it and keep it protected from the worst of the weather.
It will stop the hydrangea roots from freezing and give the plant a more stable temperature throughout winter, so it is less likely to suffer any cold damage at all.
Taking the time to mulch also stops frost or strong winds from drying out the plant and keeps enough moisture in the soil, as hydrangeas losing water over winter can also stop them from flowering.
How to prepare hydrangeas for winter
To begin, you will need to buy a mulch, which can be found at most local gardening centres. One of the best natural mulches for hydrangeas is bark chips, as they provide a lot of cover for the roots, but you can also use straw, dried-out shredded leaves or even garden compost as a mulch.
Then, prepare the area around the hydrangeas. Remove any weeds, clean up any dead leaves, and if the soil feels too hard, then also lightly loosen the top layer to help the mulch settle into the ground.
Once you are ready, spread the mulch evenly in a layer around the plant, but leave a small gap around the stem; otherwise, too much moisture can build up at the base of the plant.
It is best to mulch hydrangeas after the first frost in late November or early December, when the soil is starting to freeze, as the soil will be too hard for rats or mice to burrow and nest in the mulch.
Mulching will keep hydrangeas healthy throughout the winter, but remember to check on them periodically to ensure the soil stays loose and dry.


Comments are closed.