Want my free 100 plant stencils? Go here: https://www.henrygao.com/ipad
If you are new to my channel, my name is Henry Gao. I help architects and designers move from traditional hand drawing methods to digital drawing on the iPad.
My method ensures a seamless transition by maintaining the genuine feel of hand drawing in a digital setting. This removes all common pen & paper hassles while elevating your efficiency to the next level.
To learn more about what I do, go here: https://www.henrygao.com
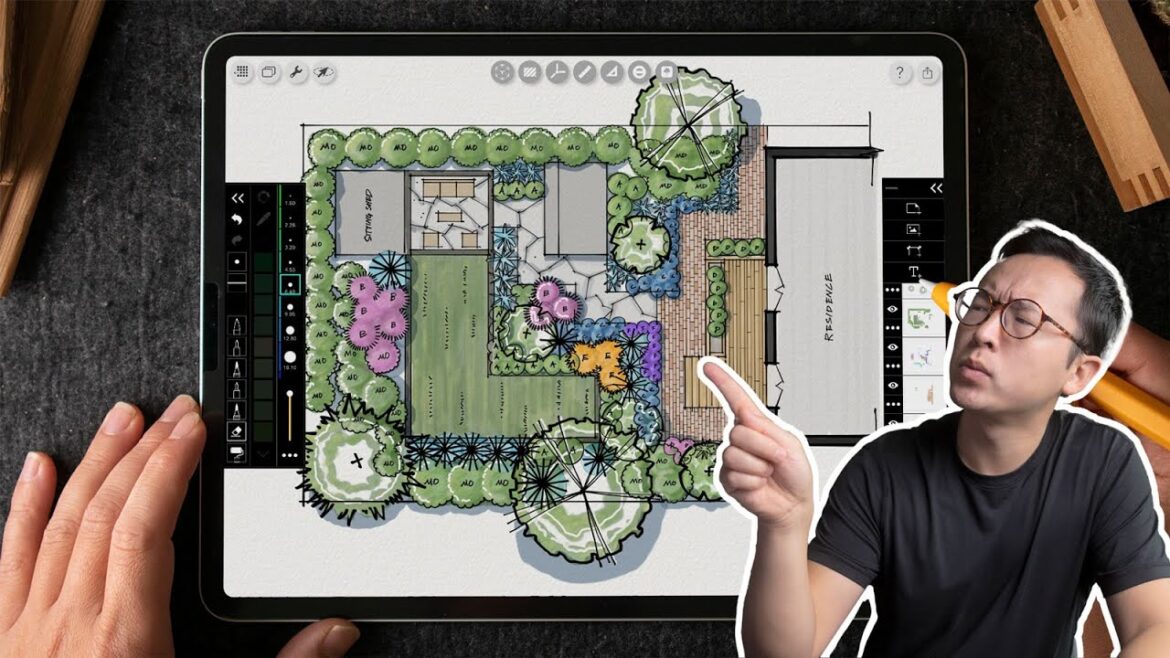
are you curious about using the iPad for landscape design I’m using an app called M Trace to do all sort of things like working with plants planning your layout to site renderings and even exporting to scale and I’ll show you how I use this plant library with over a 100 species that you can grab for free I had a student who used to do these kind of layouts entirely on autocab and I taught her how to do the same thing using entirely Trace paper and the tools that we have in morphology Trace so this is my version of her layout drawn with a pencil inside morol trace and I’ve used this circle tool which is really handy so it will show you the exact diameter or radius of a plant species and the cool thing about this is you can actually type in the exact diameter or radius in here so if I type in 3 ft this will show me exactly what a 3ft circle is and then from here onwards I can just lock this and I can maybe pick a blue color I can start to lay out my my plants as as youve seeing in this larger drawing and from this point onwards what I did was to actually ink it the finish drawing actually composed of of these Trace layers so the first layer is the similar kind of the the background foot path with pavers and the roads and then I slowly build this on top with another layer for just the the plants the circles and different layouts and then on top of that it’s the layer for trees and the reason is I don’t want to Overlay them onto the same layer so this is a really good example of what a you know a non-destructive workflow looks like and then I believe had a one more layer on top and this is just the annotation and the text so from here what I actually show you is the coloring process so I’m actually going to turn off these background layers because we don’t actually need them anymore so the coloring follows a similar principle where I I color in layers so make sure you color in layers so that you can actually edit the color individually or as a whole to that particular layer so you can see this color is more of the the axent flowers and the species and then this is more the green the trees falls on a different layer and then this layer is the layer where I put on a little bit of magic and I’ll show you what that looks like so if I made this all the way opaque you can see that I’ve actually used this pencil called the grease pencil right here so what this does is it’s going to give you a little bit more texture you know like the pencil look of this so if I just do it selectively in a couple of areas in the highlights in the shadow what this is going to give me is just a little bit more noise or or Texture to the finished drawing so what I’m going to do here is I’m going to make this paper opacity all the way down so you can see the the difference between having this off and on and then these areas it just Blends digital Lo look a little bit more and then the layer on top is a shadow layer and this layer is put on multiply so that the shadow Blends in with the the coloring below and then this one last layer is just couple of highlights using a a pen sort of a look and I believe I actually had a layer turned off by accident so okay so this layer turned on this is actually the background the poet the the foot path so from here onwards you might be wondering what if I wanted to put some Legends or title block and I’m going show you that right now but there’s just one more thing you might be wondering is you know as a landscape designer what if you want to use title blocks stencils and things of that nature maybe you have a library that you’ve used over the years that you want to bring in here this particular drawing what I show is all handrawn everything is handdrawn from scratch but you might have something like this so I’ve actually created the this file um from scratch for available for my students I’m going to bring this in and show you if you had a stencil Library like this what I would do is I’m going to bring this up just a little bit and then I’m going to hit on okay and on the very top what I can do is I can I can build another layer what I’ll do here is I’ll create another empty layer and I’ll move this layer below so that I can start to Let’s imagine if we didn’t have all the line weights if we didn’t have any of the colors if we were starting just just from these red pens this layout layer what I can do right now is I can bring any of these species that I’ve used in the past into this empty layer and then I will start to maybe make them bigger smaller I can start to duplicate things I can en llarge I can flip them to make them less uniform and then I can just go ahead and grab another maybe plant do the same thing bring it in here so I imagine if you have things like this you have like some go-to species that you like to use over and over again this is maybe a a library of things that you can create and develop for yourself like I have some that are created over 100 actually for my students so these are the things that you can bring in if you don’t want to manually draw over so this in this very last step I’ll show you the they show you the tip for bringing in a title block so I’m going to zoom out a little bit more you can actually see this is the title block that I brought in and this is essentially copy and paste it from a external file which is a 24x 36 inch quarter inch title block that I pasted into here so you can see this is actually just the image layer so if I wanted to export this I imagine like if you had a legend like this and a title block maybe a box for description and then you’re ready to export this let’s maybe just turn off the watercolor paper texture so that it’s a little bit less distracting so let’s say you are ready to export this onto a 24x 36 in which is the arcd size title block we can go to our PDF our best export setting and then I’m going to go ahead and find this title block which is going to be this one right here and it’s a little annoying but you do have to just remember to turn off all other layers and I’m not going to do it there there’s quite a bit of layers turn off but this is the layer that I’m interested in plotting out you can see I’ve already exported this before so here you can select the paper size which I’ve selected as 24x 36 and then at a quarter inch scale so this is already predetermined for this particular size and from on here you can just export this as a PDF


4 Comments
Nice 😮❤
Get started with free the iPad Drawing Starter Package Go here: https://www.henrygao.com/ipad
Awesome. Would you do it similarly in procreate? I am trying to keep to one app so that I can find the hundreds of drawings, otherwise I forgt which app I used for which part of the project.
what is the name of the app?