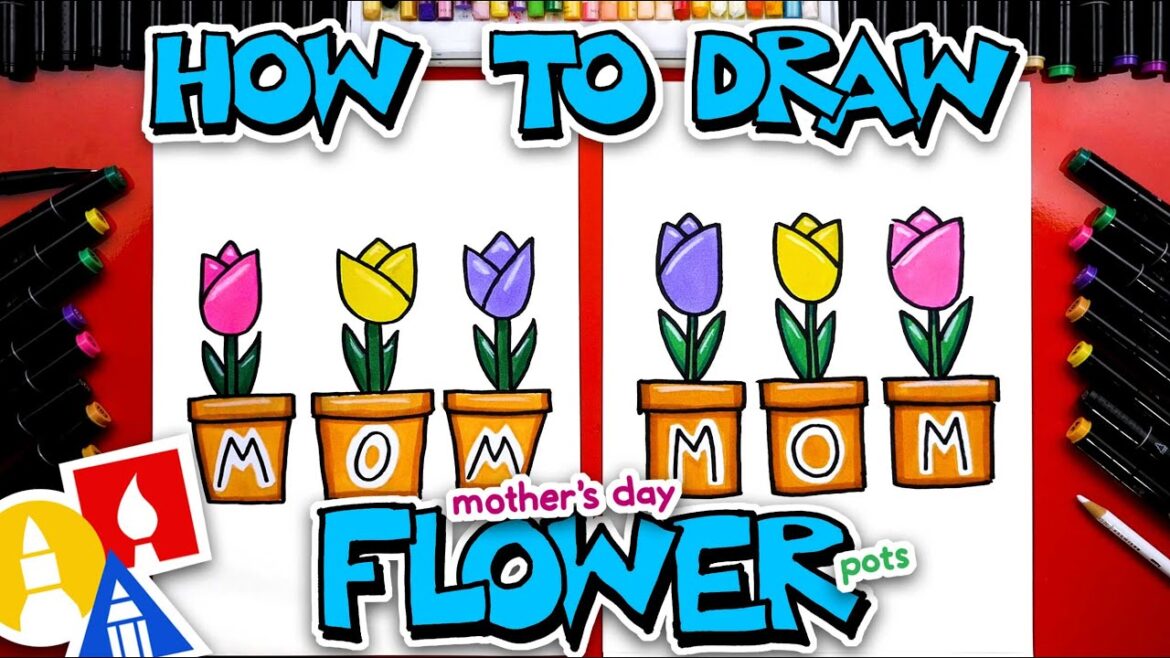
Celebrate Mother’s Day with Hadley and me as we draw cute flower pots filled with tulips! 🌸🎨 This lesson is perfect for kids and families looking to create a special, handcrafted gift. Grab your markers, marker paper, and a white colored pencil, and let’s add some color and love to our Mother’s Day celebrations.
Materials:
Markers 🖍️
Marker paper 📄
White colored pencil ✏️
Links:
AFKH Amazon store: https://www.amazon.com/shop/artforkidshub 🛒
Join our AFKH membership for more thoughtful art projects: https://www.artforkidshub.tv/ 🌟
Subscribe to our channel: http://bit.ly/afksubscribe 🔔
Follow us on Facebook: http://facebook.com/artforkidshub 📘
Instagram: http://instagram.com/artforkidshub 📸
#artforkidshub #howtodraw #MothersDay #FlowerPots
hey friend say we’re going to draw some flowers yeah we hope you’re going to follow along it’s to celebrate Mother’s Day and we’re going to draw three pots and each pot will have a letter of mom m o m you need your drawing supplies we’re going to use markers you also need some paper and something to color with yeah you’re ready to start yes we’re using marker paper also because we’re drawing with markers this helps make our markers last longer but you can use whatever you have like pencils or even crayons for this lesson let’s start by drawing the top of our flower pot and we’re trying to divide the pots up evenly so we’re going to draw a line right here in the middle of our paper I’m going to draw it right about here and I’m going to draw it kind of short so that I have room for the other pots nice and you could also add a little bit maybe on the other side to center it and then we’re going to leave a little space and then we’re going to draw another line over here and we want this one to match we’re just using our eyes to measure but if you want you could use a ruler that looks awesome okay then let’s repeat that same step for our third flower pot over here another fun thing you can do is once you’ve done this freehand and measured with your eyes you can use a ruler to see how close you are okay let’s draw two short lines down on each pot then we’re going to connect the bottom of these so that we have three rectangle shapes now we’re going to draw the bottom of the pot we’re going to draw more or two more lines coming straight down you could also tip them in a little bit more so that they get closer towards the bottom but now we’re going to repeat that same step for each flower pot and we want them to be the same length so that they’re the same height nice then we can connect the bottom and we should have mine mine look like squares and we should have three squares or three more shapes for the pots nice now what should we draw the flower yeah let’s do it well let’s draw the middle one first I’m going to draw a tulip and I’m going to draw the letter U oh let’s do all of them I’m going to draw another letter U and I’m going to try to match the same size well that’s a little taller that’s okay if they’re a little different well and this one’s a little wider all three of them are different that’s okay we’re practicing right yes nice and then one more awesome now let’s draw the pedals we’re going to draw a diagonal line connecting and then we can draw a diagonal line coming down a shorter one let’s change the direction on this one we’ll draw the diagonal the long diagonal line going the other direction so that we have the short one on the other side and then we can do the same thing over here we could pick whichever way you want I’m going to do it this way now let’s draw the center of our tulip I’m going to draw an upside down letter v inside of each tulip I love drawing tulips like this it’s pretty simple yeah okay now let’s draw the stem we’re going to draw two lines coming down right next to each other for each flower now let’s draw the leaf and for tulips they start usually down at the bottom come up really tall and then we’ll come down and connect let’s do the same thing except I’m going to draw the flower or the leaf on this side and this one I’m going to draw also this way couldn’t decide and oh we could also draw another one I’m going to draw another leaf on this side too oh let’s do it on all of them all right Chang my mind what are we missing on our drawing the letters yeah let’s do it I’m going to add the letter M on this one the letter O for the middle and another M for the last [Music] one we finished drawing our flowers except we still need to color it yes my favorite part we are going to speed things up so remember to pause the video and take time to color your drawings [Music] and we did it we finished drawing and coloring our flowers for Mother’s day turned out so cool I especially love yours Hadley thank you I like yours too oh thanks do you think Mom’s going to like it too yes I I think so you can pause the video right now to match your same coloring or you can color any way you want yeah we hope you had a lot of fun drying Mother’s Day flowers with us we do we hope you had a lot of fun and we’ll see you later our friends goodbye [Music]


Comments are closed.