

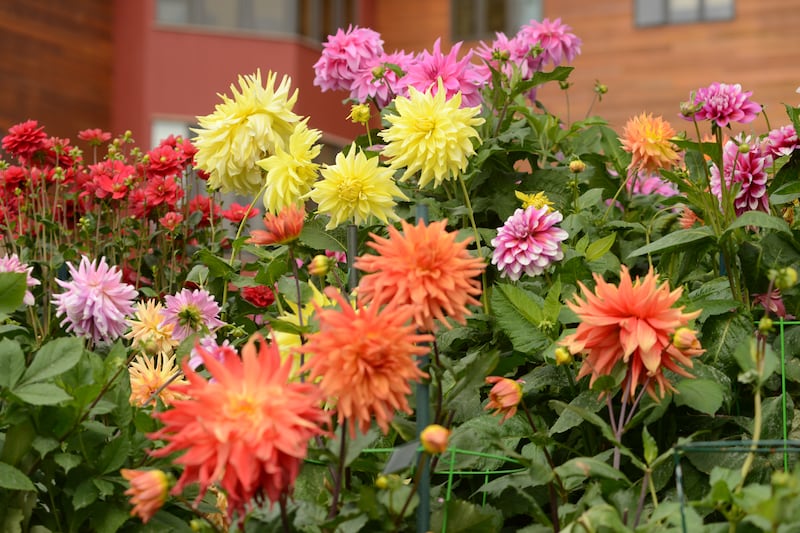
 Late-blooming dahlias grace the edge of a parking lot on 9th Ave, Oct. 8, 2018. (Anne Raup / ADN)
New gardeners are always surprised when they dig up their dahlias at the end of the season. The one tuber they planted multiplies all summer, adding new tubers until a banana-like bunch forms.
Now is almost the time to dig up these dahlias so they can be stored over the winter. I mention the bunching habit so you will dig up a wide enough chunk of ground and not damage things.
My advice is to not use a shovel or a spade but rather a garden fork. Insert the fork far enough from the plant to avoid cutting or nicking the tubers. These cuts make the tubers susceptible to rot during storage. This rot can spread to other tubers.
The big question is when to dig your dahlia tubers. The answer is after a good frost. The plants should be left in the ground and the foliage allowed to blacken. The starches and other goodies in the leaves move down the stem into the tuber, where they can be accessed next spring.
If you dig tubers too early, they will be weak and will not perform as well next year. Again, wait until the leaves blacken before digging.
Gardeners who grow lots of varieties of dahlias should label the neck of each plant before digging. You can write on them with a magic marker or you can use one of those labels with wires normally used to ID keys to wrap around plants. All dahlia tubers look pretty much alike, so labeling can be very important.
Once inside, wash the tuber with a gentle stream of water. Pay attention to cuts and nicks. Place them in an open cardboard box or simply separate them and leave them in the garage for a week or so to cure them. You can store them in sawdust as long as they don’t touch one another.
Always keep the neck attached to the tubers. This makes it easier to divide the clumps, whether you do it in the fall or spring. Look for “eyes” at the base of the neck and keep a bit of this neck attached to each. Think potatoes: The eyes have it, so to speak.
Tubers need to be stored in a dark and cool location with 70% to 80% humidity. And there needs to be good air circulation to prevent rotting. You can put them in a container filled with sawdust or peat, just don’t let them touch each other.
I like to store ours as I do pelargoniums. You put a clump into a paper bag — not plastic, which won’t breathe. Then put them in a crawl space or garage where it doesn’t freeze, but also doesn’t have drying heat. You can also put them in a plastic bin filled with sawdust or peat.
Every month, check your tubers to ensure they are not rotting or drying out. If you discover rot, remove the offending tubers, as the rot will spread and destroy your crop. Come spring, you can bring your tubers out and plant them.
There is one more method of storage. Just bring in the whole pot, let the plant die back and then simply water and expose to light in the spring. It couldn’t be easier!
Jeff’s Alaska Garden Calendar
Alaska Botanical Garden: It is open all year. There are classes and other events. And for goodness’ sake, join. It isn’t expensive and membership supports a very important institution.
Houseplants: Look for spider mites at the axial of branches and stem.
Supplemental lights: Do you have yours set up yet? What are you waiting for?
Comments are closed.