

With winter right around the corner, there’s no better time to start preparing your garden for colder temperatures and harsh weather. One gardening task you should get done before frost hits involves digging up gladiolus bulbs, also known as corms.
“Gladiolus blooms cannot survive during the wintertime, so many gardeners dig them up in the fall and store them in order to plant and enjoy again come spring,” says Alex Frezza, owner of TGW Landscaping in Wyckoff, NJ. “In order to do that, you need to dig them up once the foliage starts to turn yellow and definitely make sure they’re out before any hard frost comes.”
We spoke with gardeners about how to dig up gladiolus bulbs before frost hits and have included step-by-step directions alongside actionable tips to make the process easier.
1. Gather Your Tools
It’s nearly impossible to dig up gladiolus bulbs without the right tools.
Lucie Bradley, an expert gardener at Easy Garden Irrigation, recommends using a gardening fork instead of a spade, as it is easier to lift less soil with a fork.
“You are also less likely to damage the corms using a fork as a spade can easily slice through corms if positioned too close,” Bradley tells DenGarden.
You’ll also need something to move the corms to where you can work on them away from your garden beds, whether that’s a garden sheet, small tarpaulin, tub or wheelbarrow.
Last but not least, you’ll want to have a clean and sharp pair of pruning shears on standby to cut away the foliage once the corms have been lifted.
2. Leave Foliage in Place and Lift the Bulbs From the Ground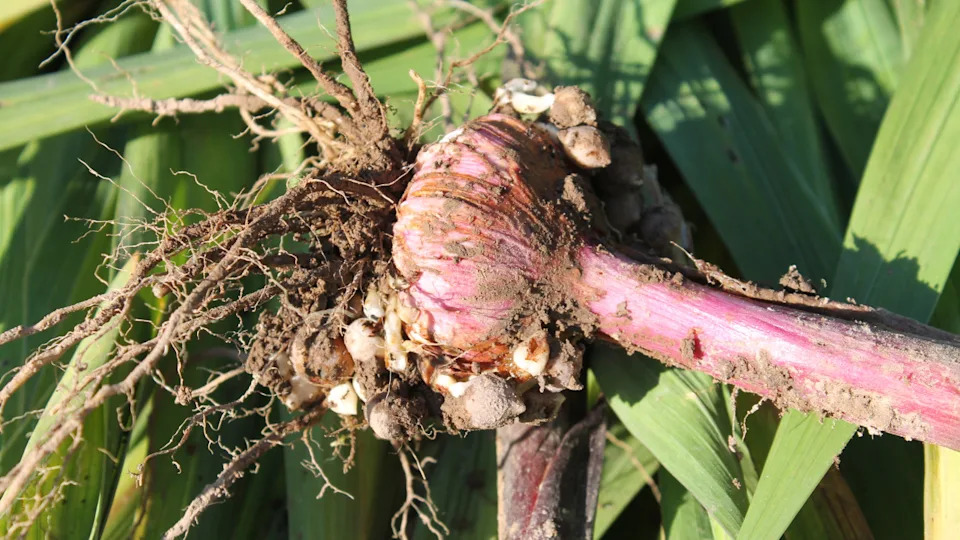
Photo by kazakovmaksim on Getty Images
Although you could cut back the foliage before lifting the corms, Bradley suggests removing the corms while leaving the foliage in place and holding the stems as you lift them from the ground.
Frezza says you’ll want to trim the stalks about six inches above the soil and then loosen the soil to help remove them.
“Use a garden fork to carefully loosen the soil around your plant and be careful to leave a few inches between the fork tines and center of the plant so you don’t damage the corms,” Bradley says.
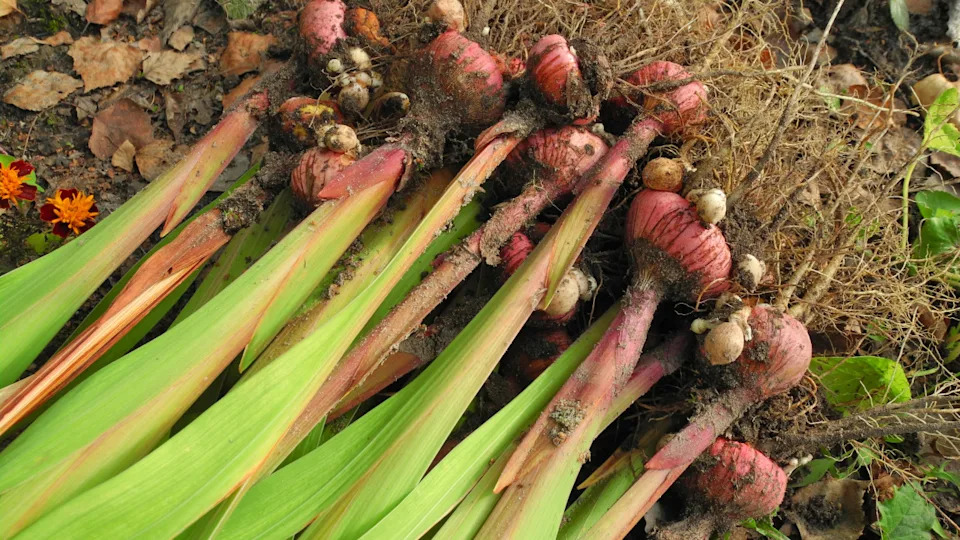
Photo by Yana Boiko on Getty Images
Once all the soil has been loosened, hold the foliage and simultaneously push the fork under the corms, gently using it to lever the corms from the ground.
Try to shake off as much soil as possible as you lift the corms as this makes it easier to prepare the corms for storage, Bradley adds.
3. Clean the Corms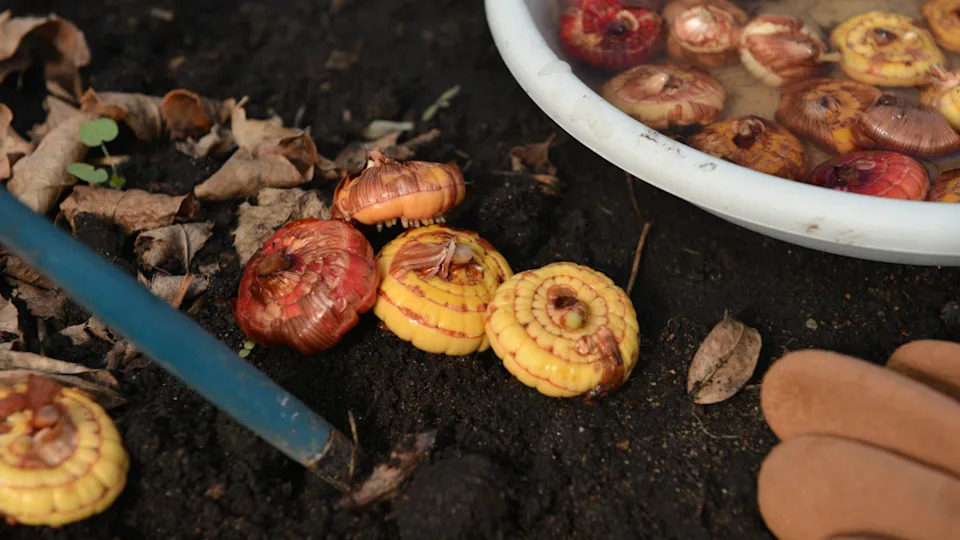
Photo by VeraPetruk on Getty Images
After you’ve dug up the gladiolus bulbs, Chris Taylor, professional gardener and owner of Chris Taylor Gardening, recommends brushing off excess soil, removing any loose, papery husks and separating baby corms (cormels) from the mother corm. Then, you should inspect each corm, discarding those that are damaged.
4. Cure the Corms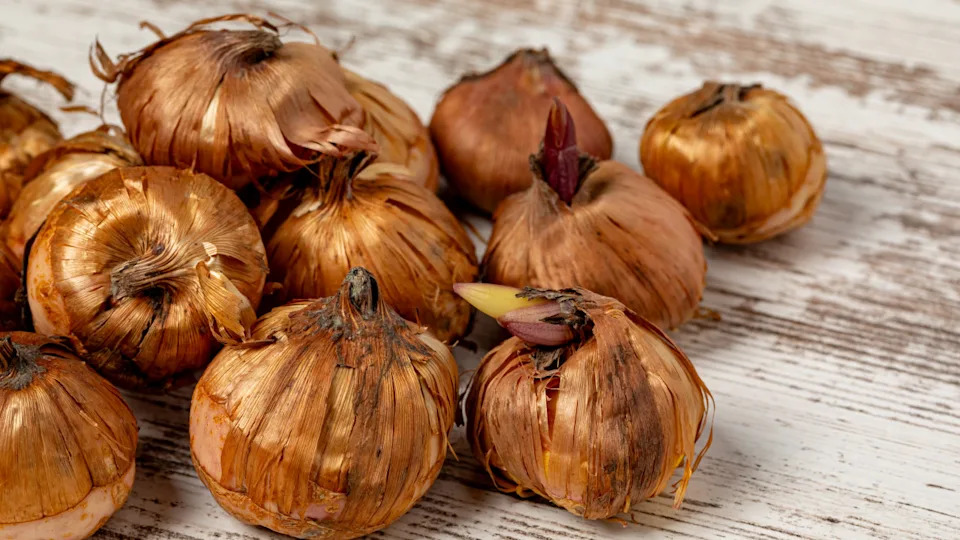
Photo by JJ Gouin on Getty Images
Once you’ve cleaned them, you’ll want to spread the corms in a well-ventilated area. This stage is called curing.
“Allow them to cure for two to three weeks until the outer husks become papery and the cut stem end is completely dry,” says Taylor. “Good air circulation prevents mold and rot during this period.”
5. Put Them Away
Last but not least, you’ll want to place the gladiolus bulbs in breathable storage containers and store them in a cool, dry location between 35 to 45°F.
According to Bradley, storing them properly will keep them safe and intact for replanting the following spring. Healthy, intact corms will produce healthy gladiolus blooms. Suitable corm storage containers include paper bags, mesh bags, hessian sacks, cardboard boxes layered with old newspaper and even old stockings.
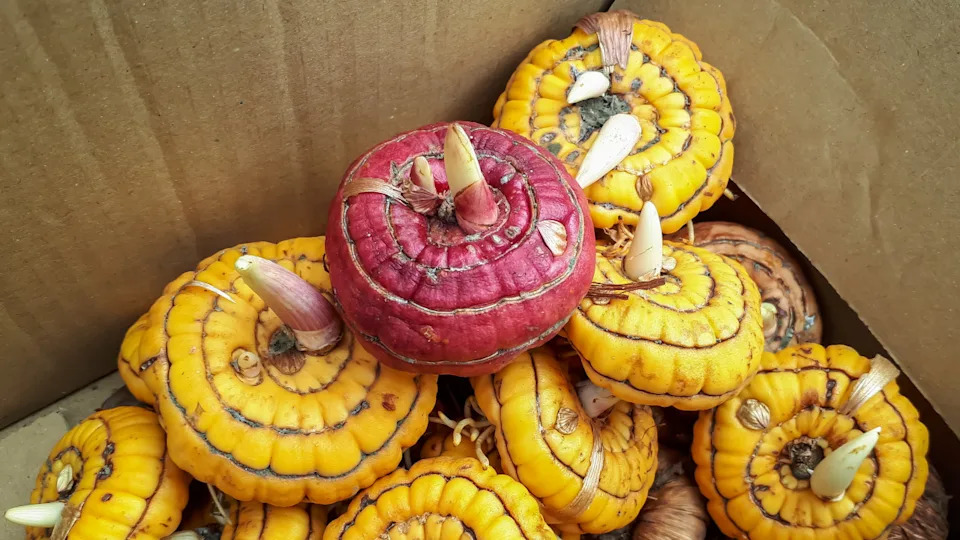
Photo by Kristine Radkovska on Getty Images
At the end of the day, it’s important to dig up your gladiolus bulbs before the first frosts. This will help preserve the integrity and health of your plants and garden. This is a simple task that doesn’t take very long but is well worth doing if you want more gorgeous gladioli next year.
Related: What Are the Earliest Blooming Spring Bulbs?
This story was originally reported by Dengarden on Sep 25, 2025, where it first appeared in the Gardening section. Add Dengarden as a Preferred Source by clicking here.
Comments are closed.