

Fall is the perfect time to start collecting seeds from your garden. As temperatures drop and plants finish their growing cycle, they naturally produce mature seeds ready for harvest.
Why bother with seed saving? The money-saving benefits are obvious: no more annual trips to the garden center for packets of seeds. But there’s more to it than that. Seeds you collect yourself are already adapted to your local climate and soil conditions, which means better success rates when you plant them next year.
Gardening experts have used these techniques for generations to preserve favorite plant varieties and build resilient gardens. The process is straightforward once you know the basics.
You may like
Here’s how you can harvest, dry and store seeds from your own garden.
1. Choose the right plants for seed collection

(Image: © Shutterstock)
Focus on healthy, non-hybrid varieties that produce viable seeds. Heirloom and open-pollinated plants work best because they retain the characteristics of their parent plants, ensuring consistent quality in future generations.
According to gardening expert Fiona Jenkins at MyJobQuote.co.uk, “Seeds collected from your garden are better adapted to your local environment, which means they have a better chance of thriving.”
This local adaptation develops over multiple growing seasons as plants adjust to specific climate conditions.
Avoid hybrid varieties marked as F1 on seed packets, as these won’t produce seeds that grow true to the parent plant. Instead, select proven seed-producing plants like sunflowers, beans, peas, tomatoes, marigolds, cilantro, dill, basil, squash, and pumpkins.
2. Time your harvest for maximum seed viability

(Image: © Shutterstock)
Collect seeds only when they’re fully mature to maximize germination potential. Look for indicators like browning seed pods, drying flower heads, or seeds that rattle inside dried pods when shaken.
Choose a dry, sunny day for collection to avoid moisture that can lead to mold or rot during storage. Jenkins emphasizes that “timing is crucial when it comes to seed gathering for future planting” and notes that seed gathering season typically runs from late September through early November.
Balance timing carefully, as collecting too early results in immature seeds that won’t germinate, while waiting too long risks losing seeds to wildlife or natural dispersal.
Monitor your target plants daily as they approach maturity to catch the optimal harvest window.
3. Collect seeds based on plant type
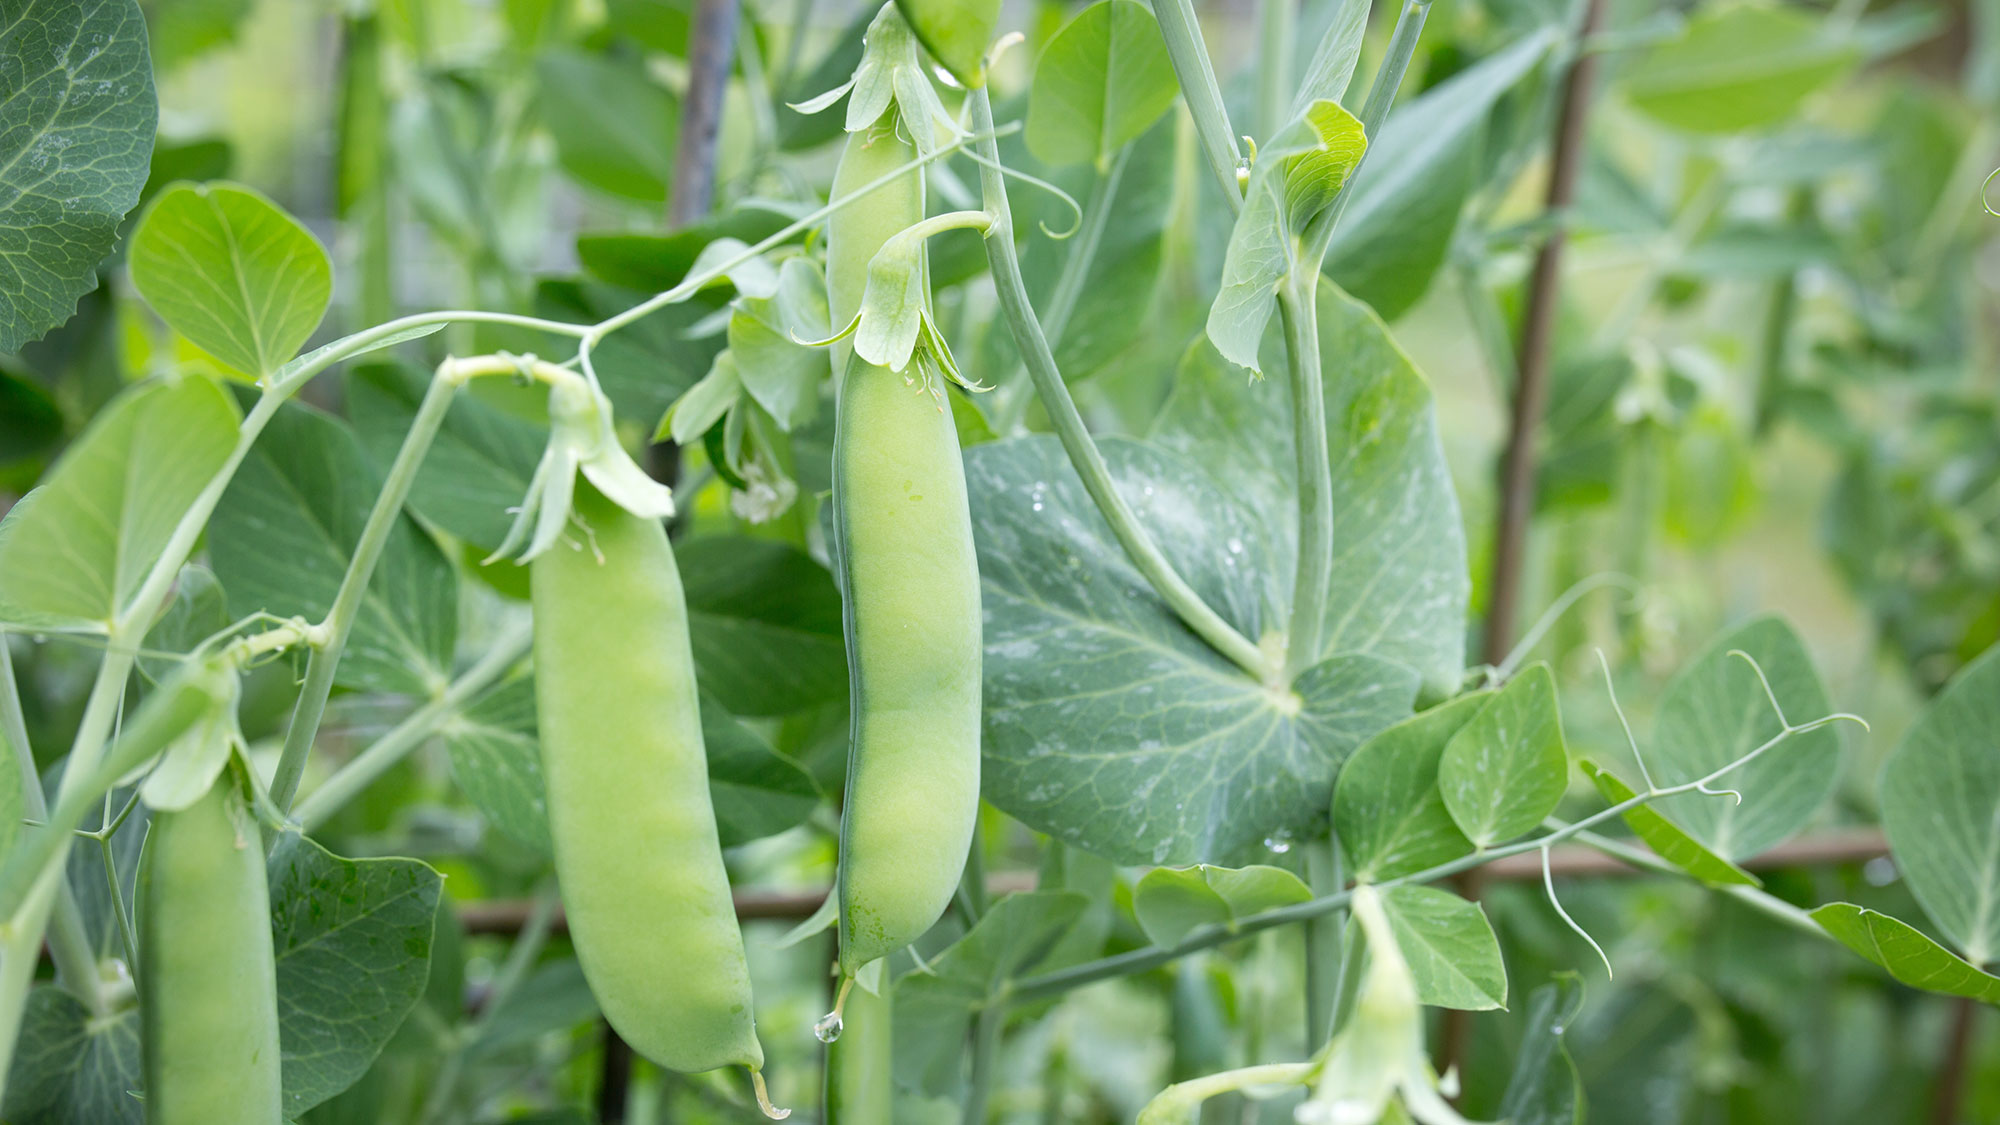
(Image: © Shutterstock)
For flowers like marigolds and zinnias, wait until flower heads dry completely before gently breaking them apart to collect seeds. The dried flower heads should crumble easily when ready, releasing mature seeds.
For vegetables, allow pods to dry on the plant whenever possible. Jenkins notes that “beans and peas pods dry right on the plant and split open when ready.” For tomatoes, scoop out seeds and surrounding gel, then ferment in water for several days before cleaning.
And for herbs like basil and dill, allow plants to bolt and flower before collecting seeds.
Shake dried seed stalks over a container to gather the small seeds, or cut entire seed heads and hang them upside down in paper bags to catch falling seeds.
4. Clean and dry seeds properly for storage
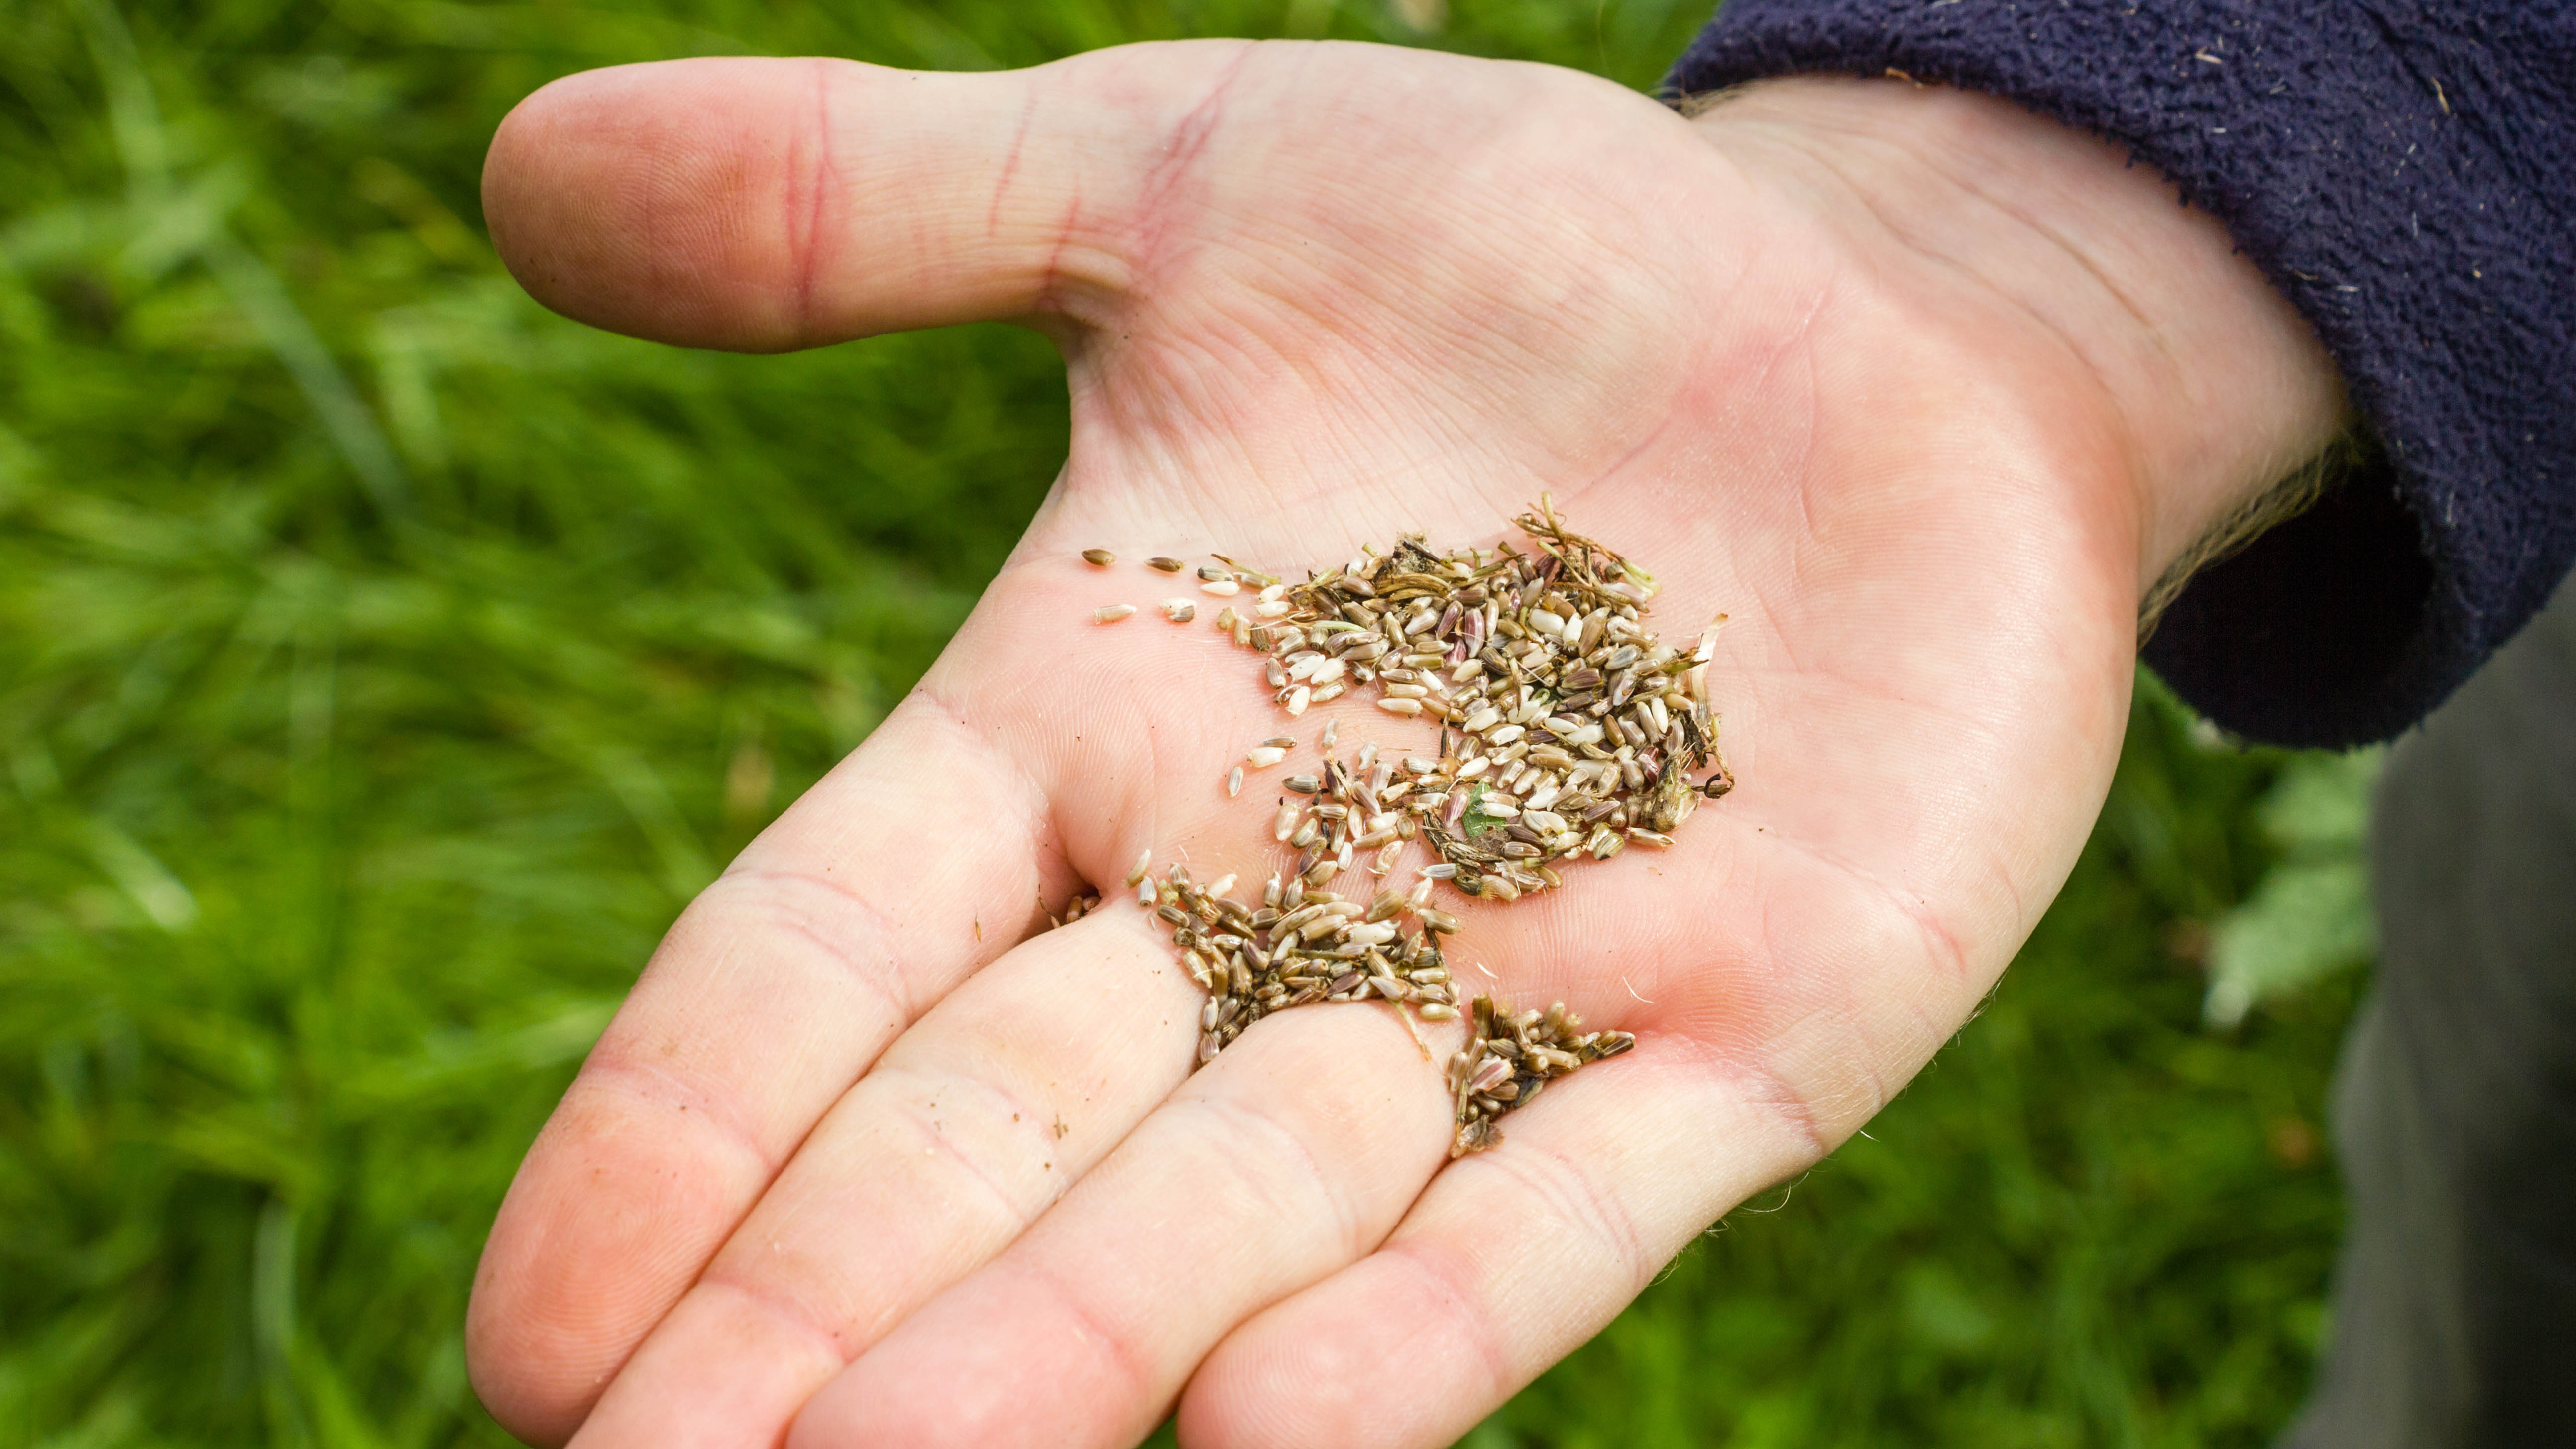
(Image: © Shutterstock)
Remove all plant material and debris from collected seeds to prevent mold and pest issues during storage. Separate seeds from pods, husks, or dried flower parts, keeping only clean, intact seeds.
According to Jenkins, proper drying involves placing seeds “on a tissue or paper towel in a well-ventilated area, away from direct sunlight. Proper drying will help to prevent mould and increase seed viability.”
Test dryness by ensuring seeds feel completely dry to the touch before storage. Complete drying typically takes one to two weeks, depending on seed size and moisture content.
5. Store seeds correctly to maintain viability
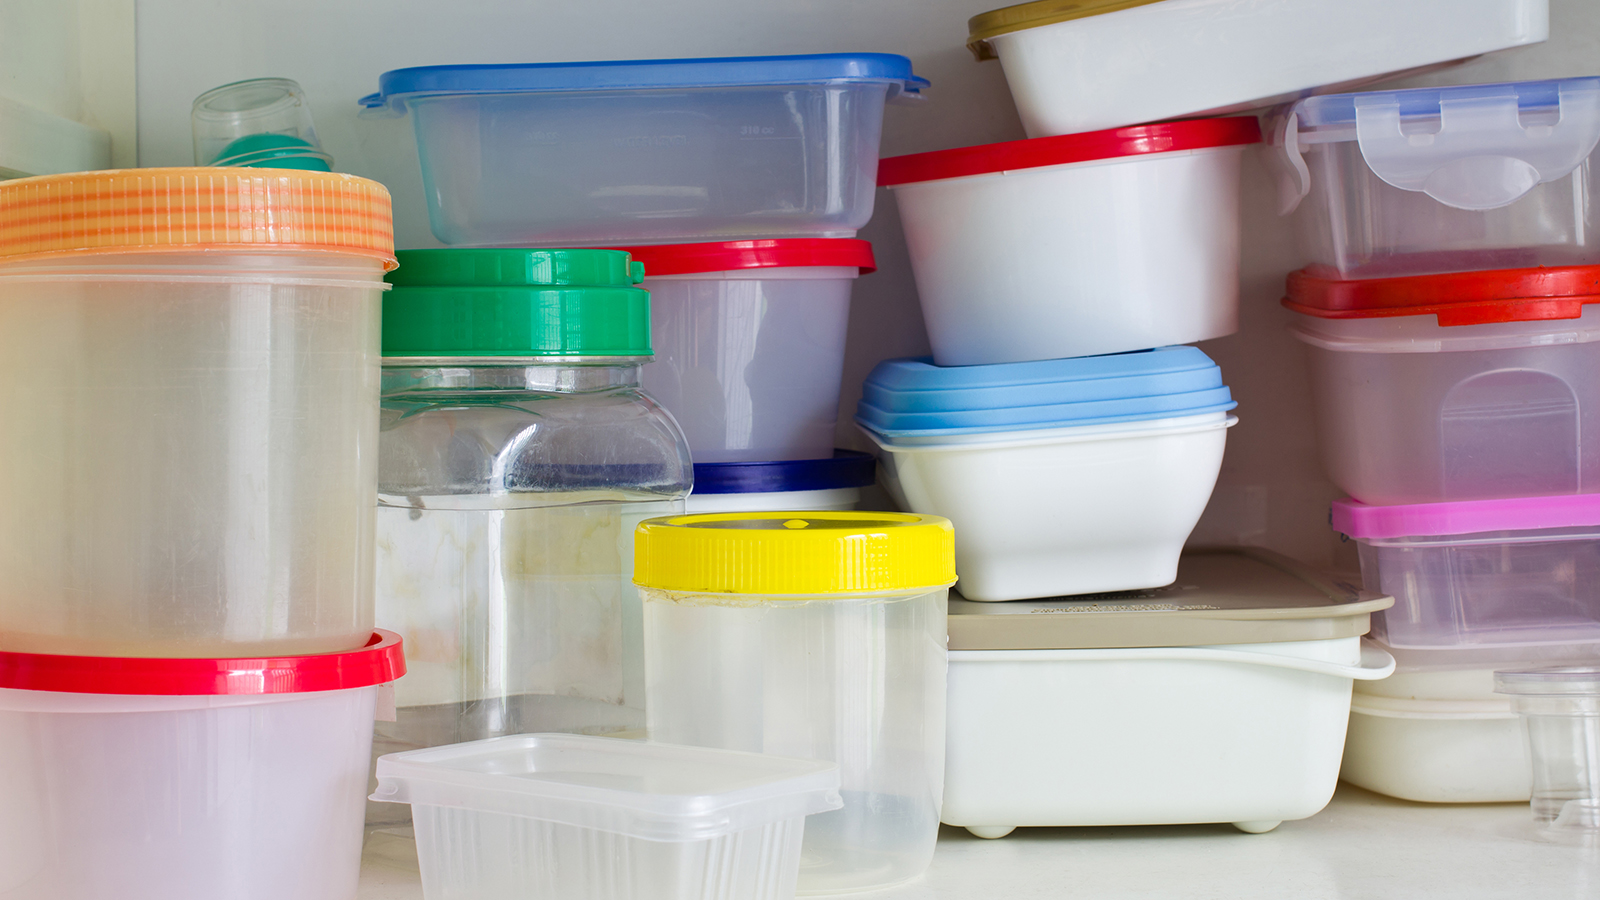
(Image: © Shutterstock)
Use airtight containers like glass jars or sealed plastic bags for seed storage. After storing, Jenkins recommends labelling them: “with the plant name and collection date for when the time comes to replant.”
Believe it or not, a location such as refrigerator provides ideal temperature and humidity conditions for your seeds. However, “it is important to ensure that the seeds are kept in moisture-proof containers,” Jenkins stresses.
You can also add silica gel packets to storage containers to absorb excess moisture.
How to start seedlings from your saved seeds
6. Start seedlings from your saved seeds
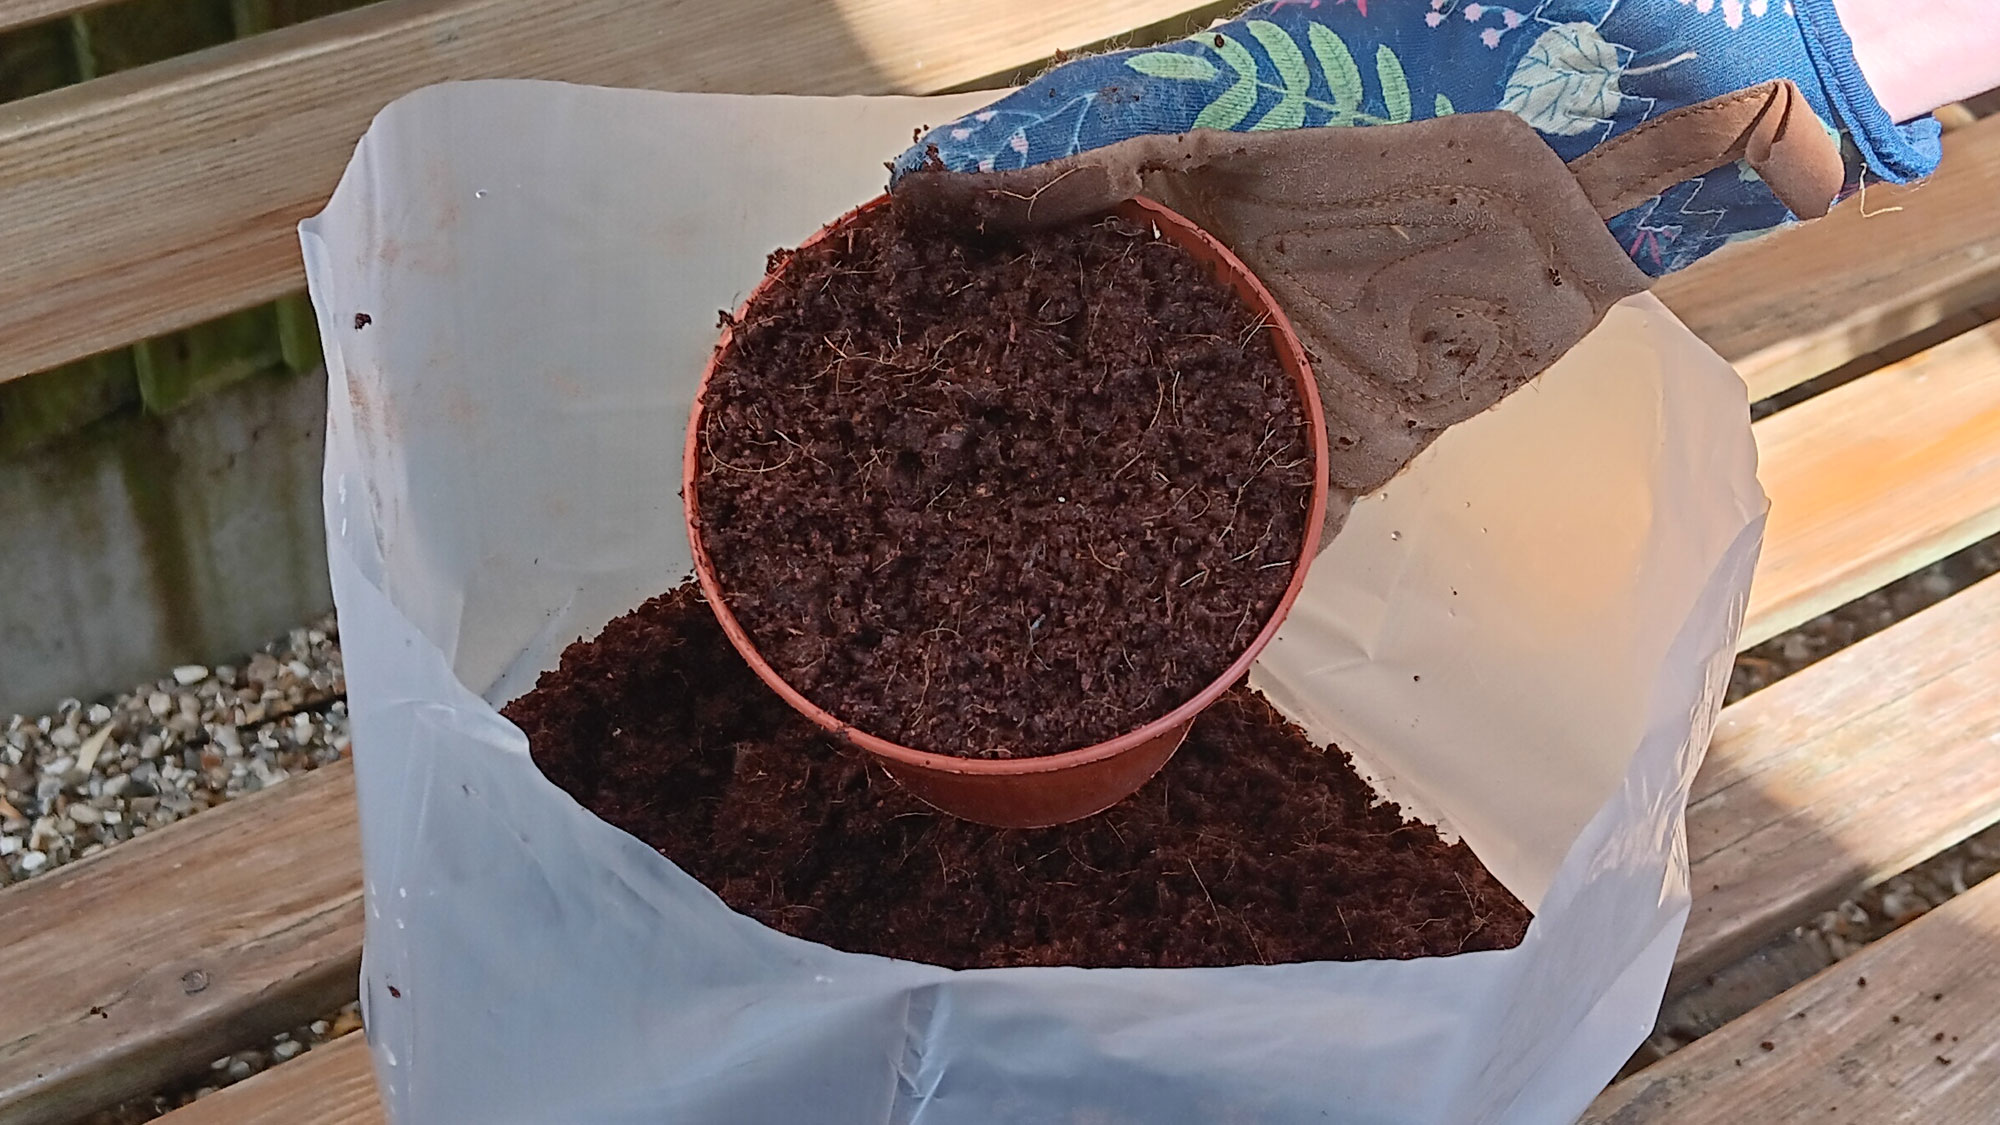
(Image: © Future)
Use sterile, well-draining seed starting mix to prevent disease issues that can affect germination rates. Jenkins emphasizes using “a sterile seed starting mix that is light and well-draining as well as free of pathogens and weed seeds.”
Choose appropriate containers such as seed trays with cells, small pots, or biodegradable peat pots, and recycled containers with drainage holes.
7. Plant and germinate seeds correctly
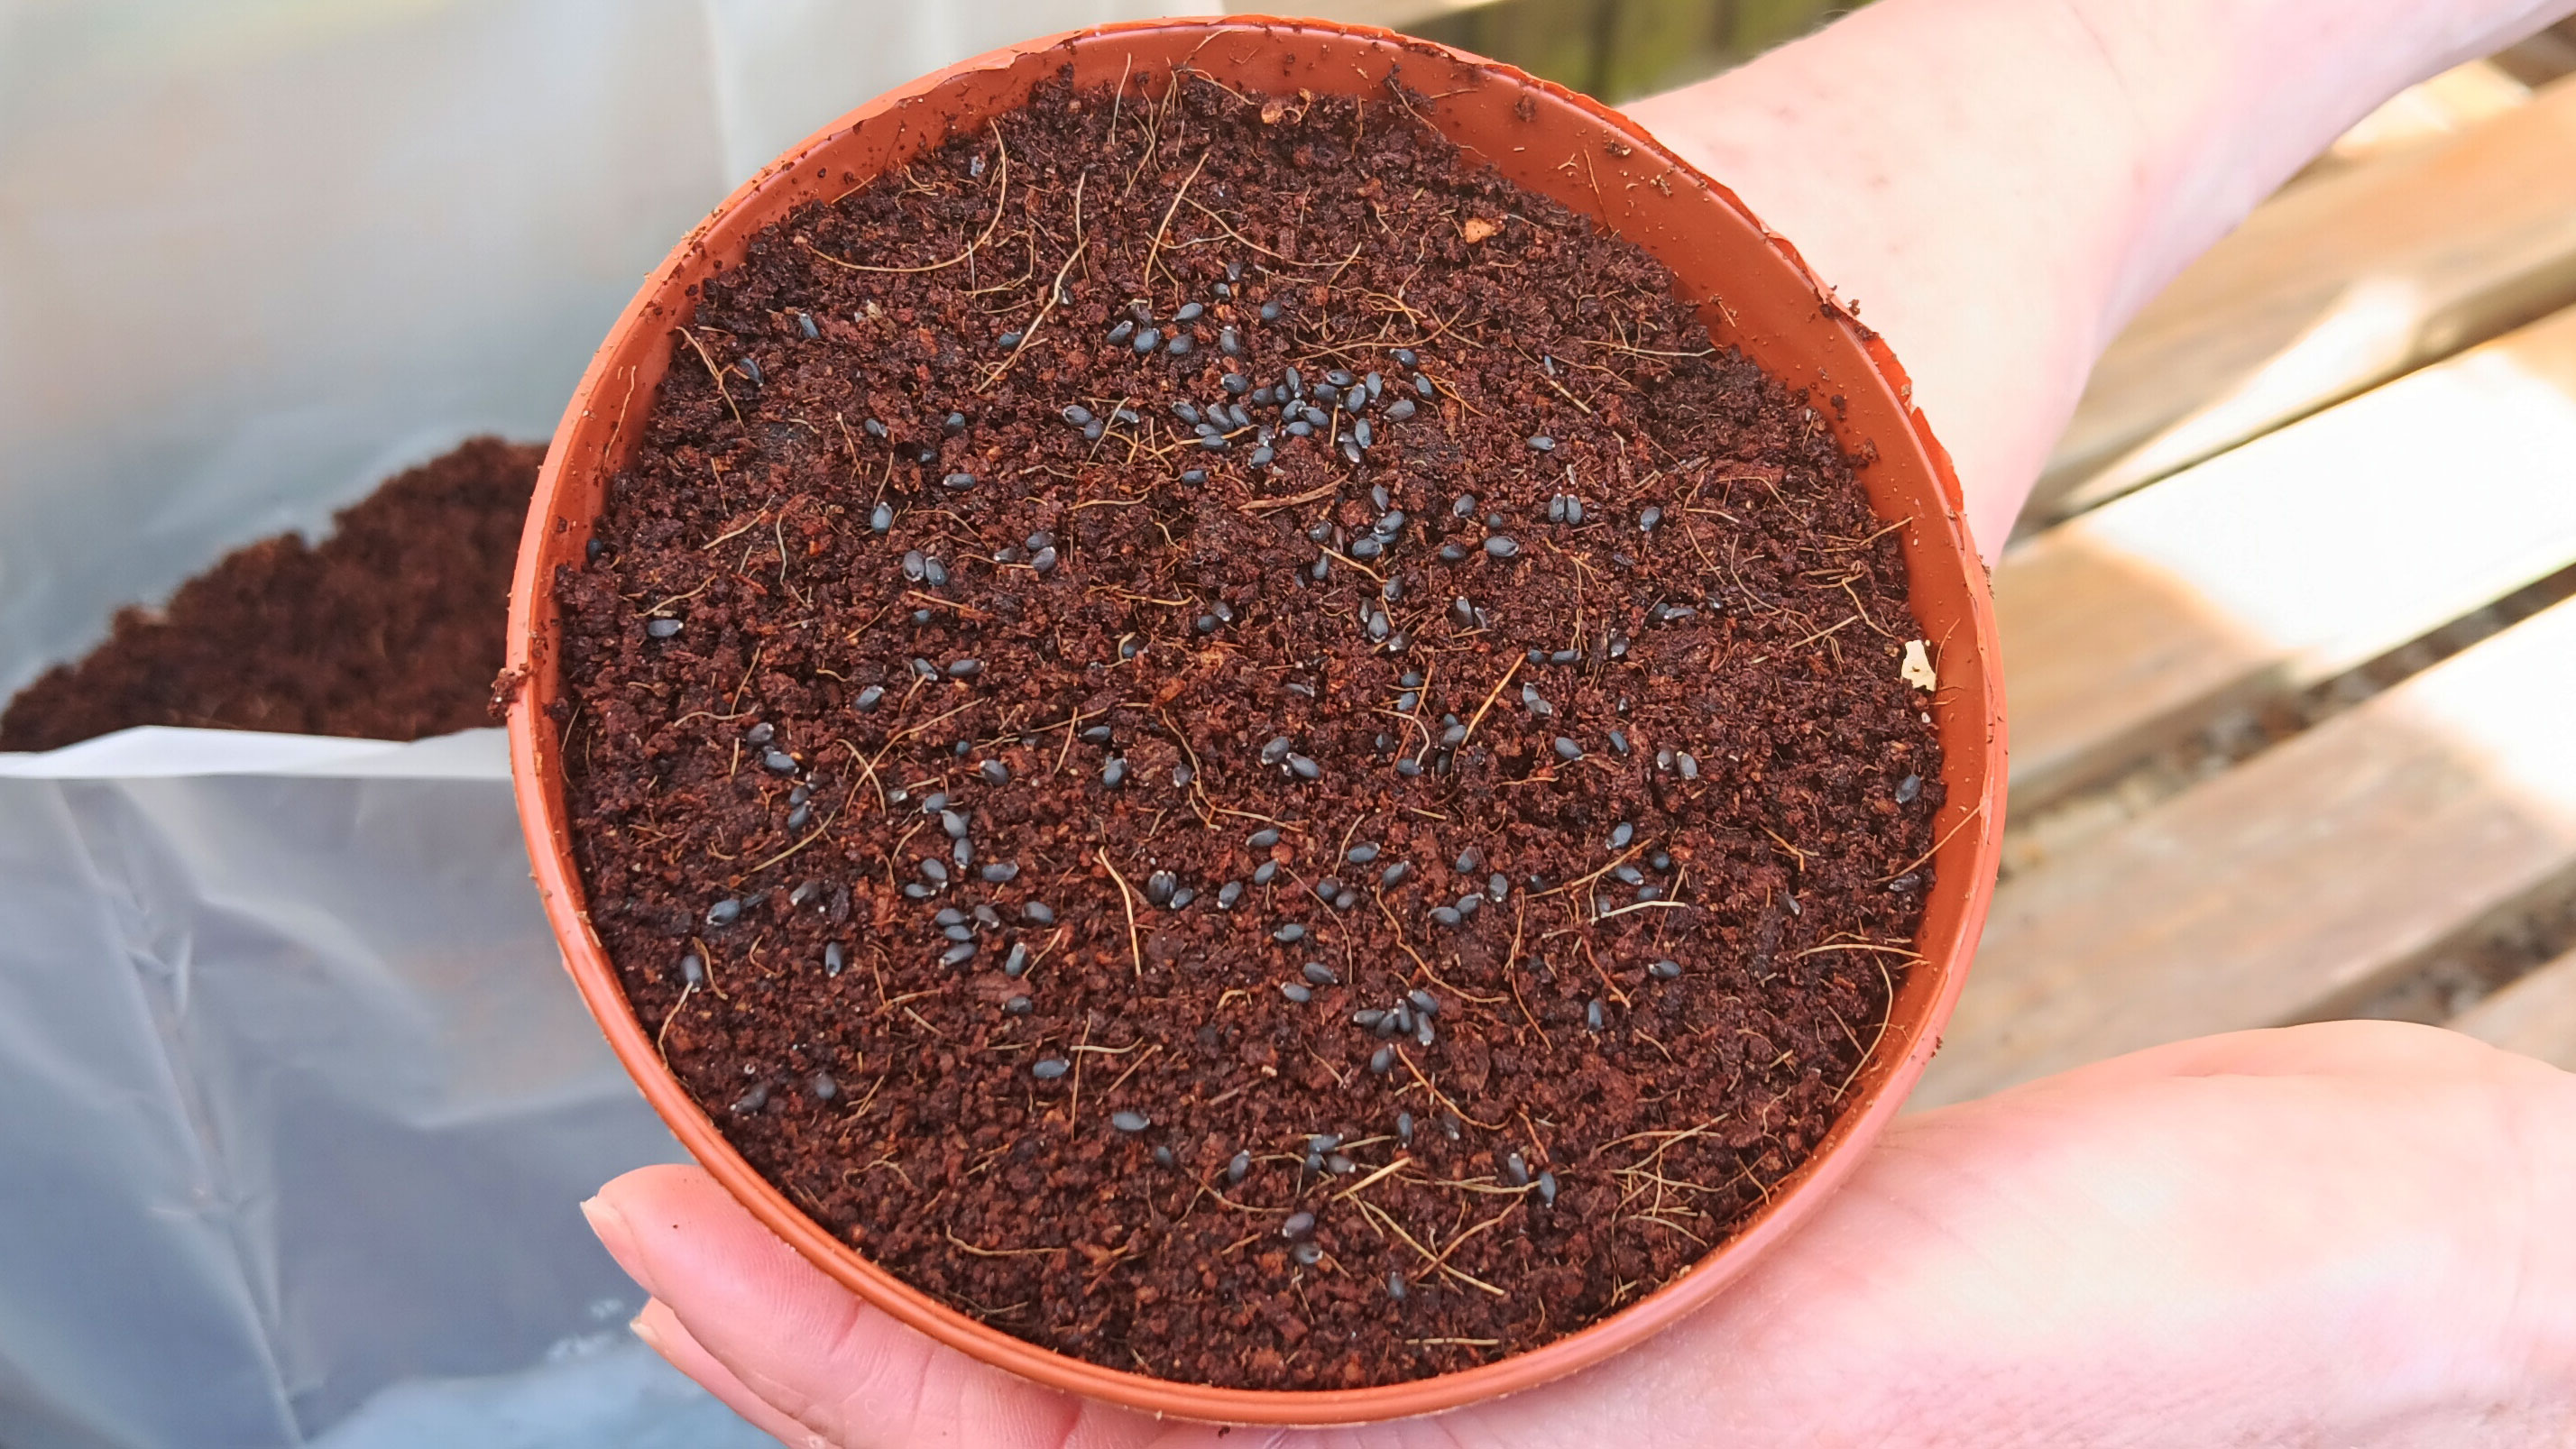
(Image: © Future)
Make sure you plant your seeds at the correct depth. Jenkins recommends sowing seeds “around 2-3 times the diameter of the seed deep and moisten the soil gently.” Then cover with a plastic dome or cling film to retain moisture until germination.
Keep the seeds in warm conditions and maintain consistent moisture without oversaturating.
8. Care for your seedlings
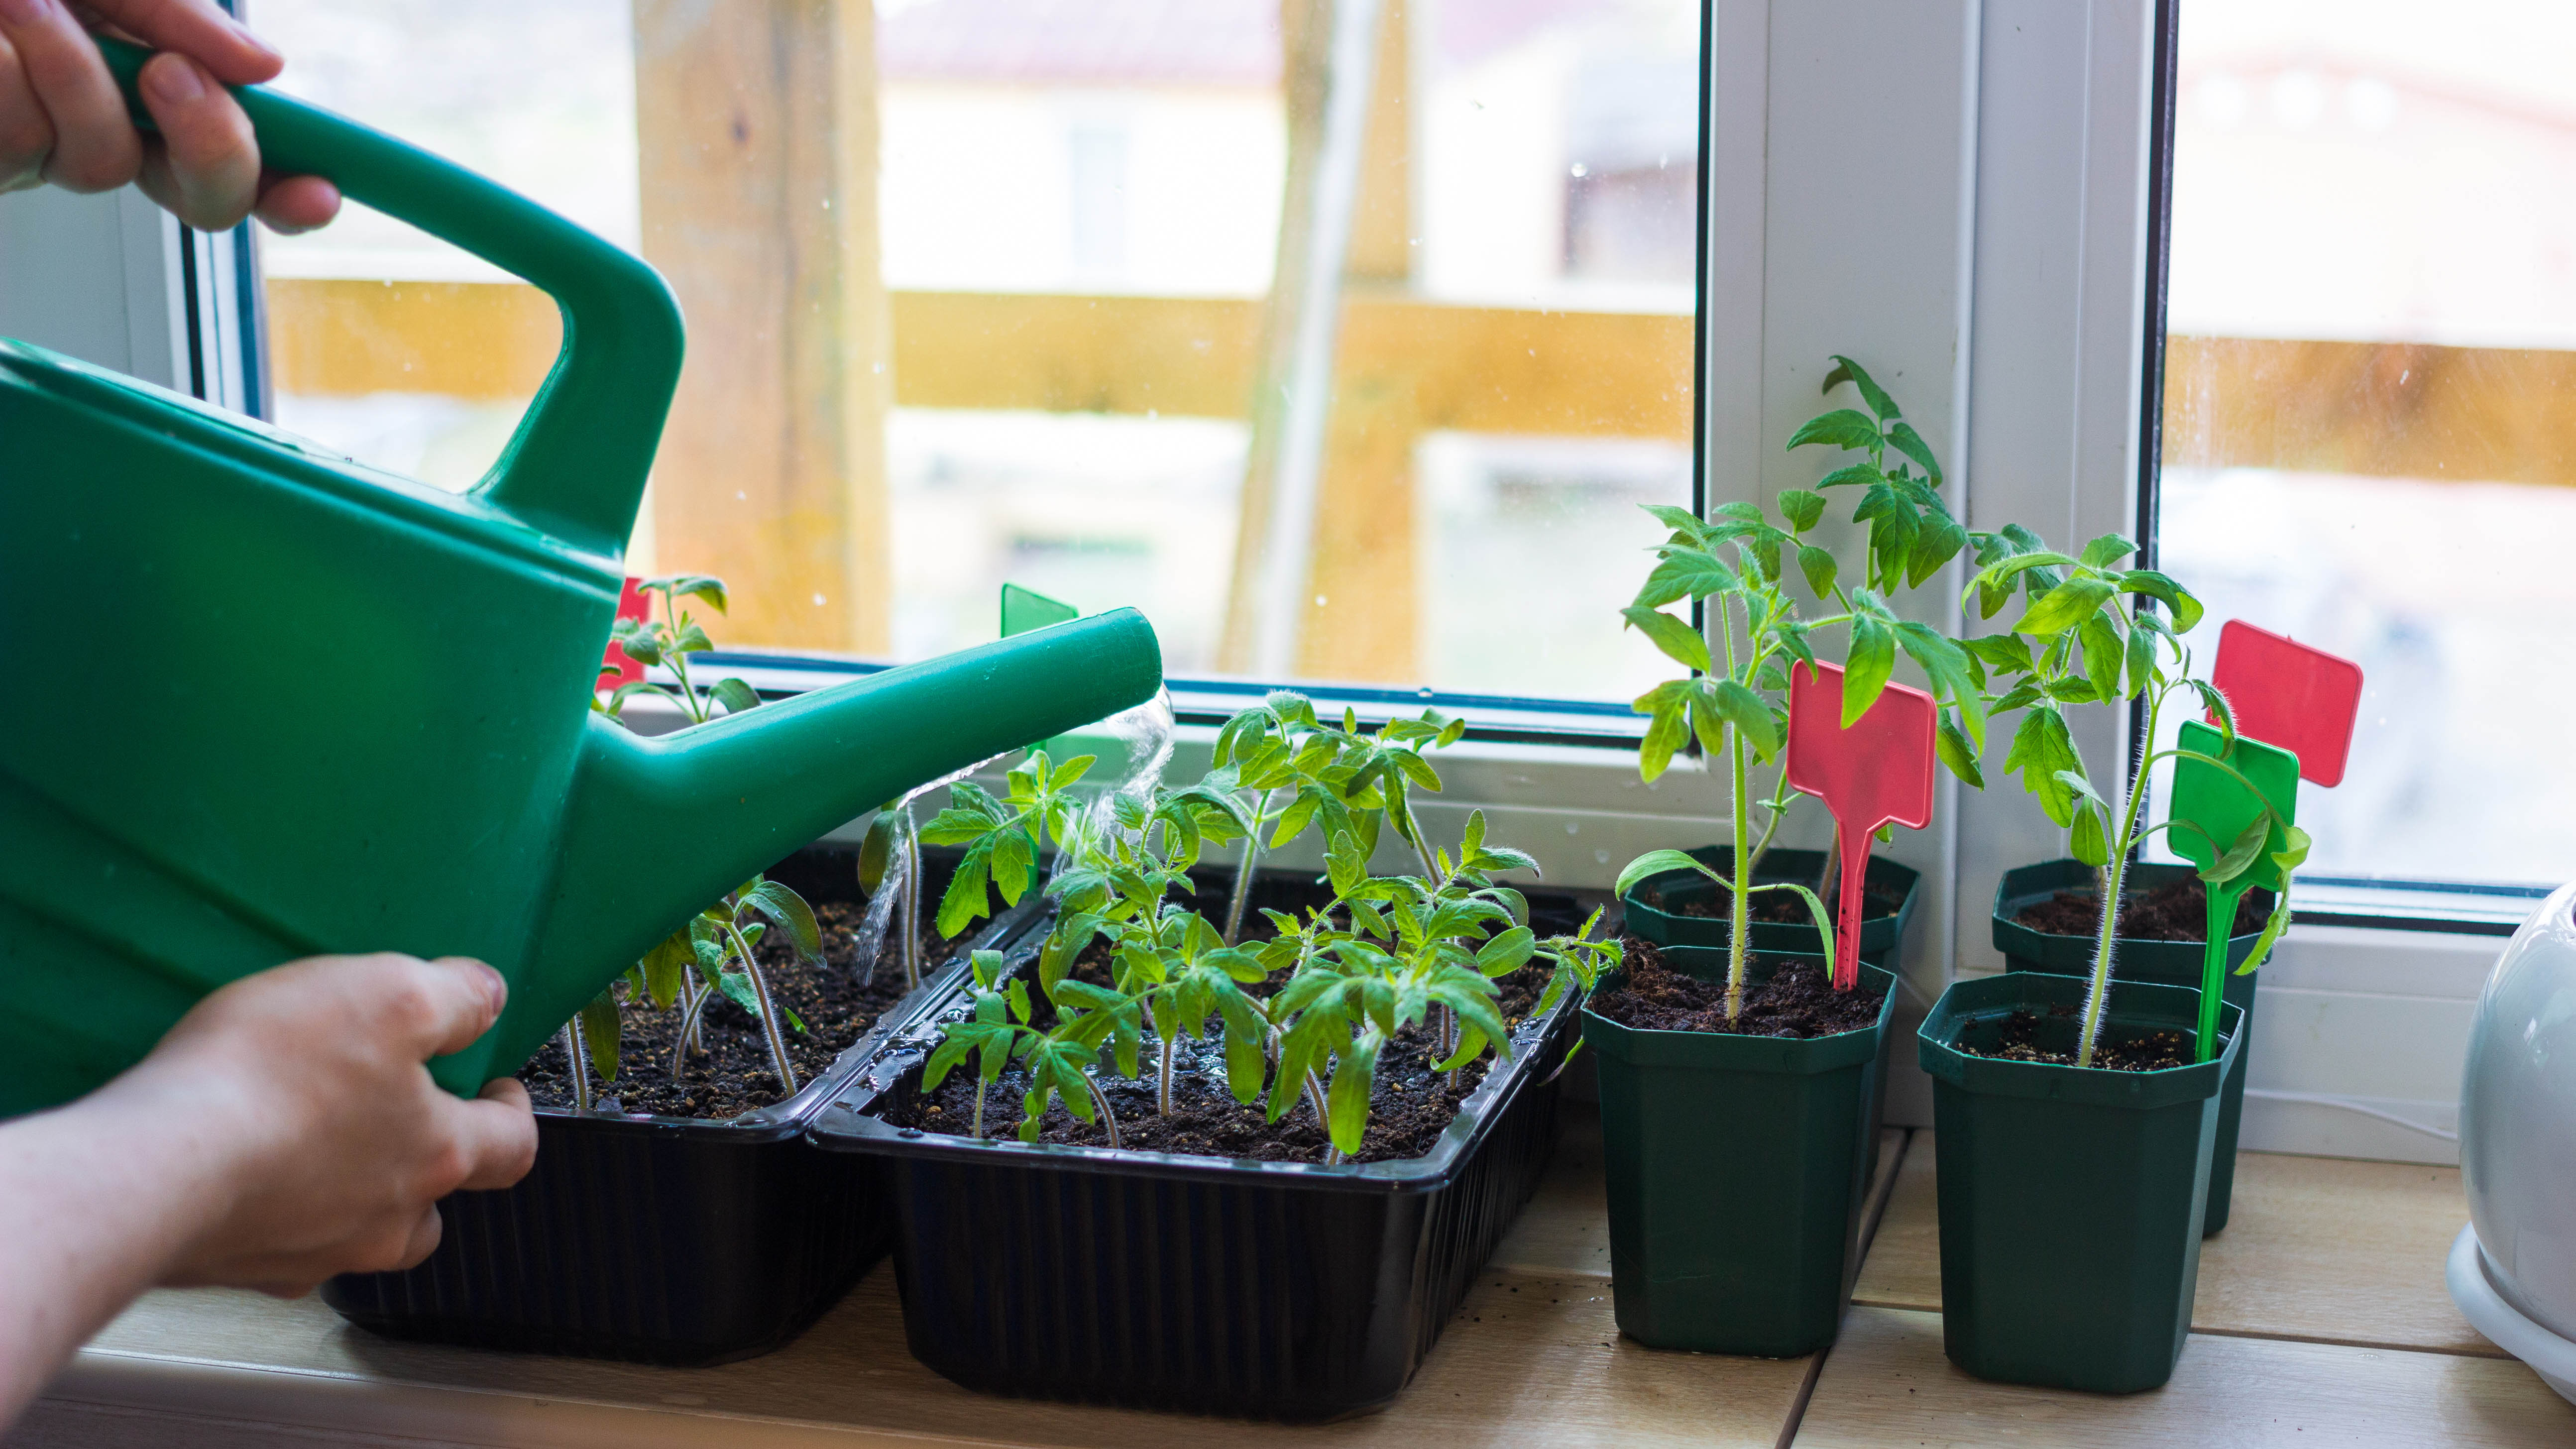
(Image: © Shutterstock)
Provide adequate light once your seedlings emerge. Jenkins advises that “once seedlings emerge, aim for 12-16 hours of daily light exposure and water carefully to keep the soil moist but not soggy.”
Next you’ll need to thin the seedlings and prepare them for outdoor conditions. As Jenkins explains, “When true leaves appear, thin seedlings by snipping weaker ones at the soil line.”
Around two weeks before transplanting outdoors, gradually expose the seedling to outdoor conditions.
Follow Tom’s Guide on Google News and add us as a preferred source to get our up-to-date news, analysis, and reviews in your feeds. Make sure to click the Follow button!
More from Tom’s Guide
Today’s best Robot Lawnmowers deals
Comments are closed.