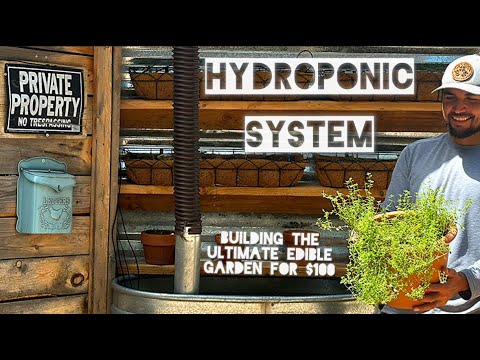
Gardening is tough, so I’m doing my best to simplify the process and create the ultimate DIY Hydroponic System!
This design is low cost, low maintenance, and perfect for edibles and herbs. We were able to build this for free with items we had laying around the house, but you can easily replicate the design for well under $100.
This build took us only 5 minutes, and is extremely DIY friendly. Simply add some fish to your water tank and you’ll have a fully functioning aquaponic system at home.
Special Thanks to @Beatmolen for this amazing track. Song is called “Voor Jou” you can find more music like it here: https://beatmolen.nl
Solar Drip Irrigation: https://amzn.to/4oInw4k
#luckythrives #DIY #Garden #Hydroponics #aquaponics #Gardening #build
Growing your own food is a lot tougher than it sounds. So, I’m simplifying the process by creating the ultimate backyard edible garden using this DIY hydroponic system that you can make at home for only a hundred bucks. So, I actually built this system for free using materials I had laying around the house. Right now, I’m constructing two sixft shelves using these 2 by six coal lumber boards that I bought at Lowe’s for 70% off about a year ago. Lumber’s a bit pricey right now, but you can still buy all three of these boards for under 30 bucks. I’m a huge fan of saving a couple bucks and buying coal lumber, especially for a project like this that’s going to be exposed to the elements. The most expensive part of the project was this water tank, which I had up at the cabin for years. You can easily save yourself a hundred bucks and replace it with a 5gallon bucket, but this tank looks so much better. I’m using pressuret treated 2x4s for the shelf supports because that was all I had. But I’d highly recommend that you use untreated lumber for this project, especially if you’re planning on putting fish in the water tank. Each one of these shelves will have between 50 and 75 lbs of weight on it. So, make sure these support boards are nice and secure. I’m using 3-in deck screws to fasten everything together so they don’t rust out. Unfortunately, the 2×6 didn’t fit behind the gate properly, so I had to make this custom cut. Remember folks, these projects don’t have to be perfect. There’s a lot of beauty and imperfection. [Music] [Music] [Applause] Ooh, yes. Oh, that’s going to look so good. All right, three more. [Applause] Oh yeah. Thank you. [Applause] A nice little medium. Slant it all towards the back so that the weight stays on the shelf. Okay. And the water will drain towards the front. You can put them towards the back where it’s taller. and just kind of bury their roots. Never done this before. Oh, wait a minute. This side is the back. All right. Not bad. Let’s see. Got one, two, three, four, five, six, seven, eight, nine, 10. And four pots. Yeah. Two and a half per pot. All right, we’ll put stuff in between. We’ll put like time or we can do one big one of strawberries and then the other one with like thyme and other stuff. Sounds good. Okay, we’ll do that. Now it’s time for the fun part, installing the water system. We got this water pump on Amazon for a really good price. It’s completely solar powered, and I’ll be sure to put a link in the description for you guys. Technically, this is a drip irrigation system, but since we have pearl as a substrate, I think this qualifies as a hydroponic system. This solar panel pumps water from the bottom of the tank up to each of the drip irrigation nozzles, and it even has a built-in low water sensor. Now, all we got to do is wait for some rain to fill this tank up. Do you guys think this system’s going to work? And should we put fish in the water tank next? Let me know in the comments. [Music] [Music] [Music] We finally got a little bit of rain and the hydroponic system is working great. What did you guys think of this project and what should we build next?


4 Comments
Yessir!!!
Looks great!
Looks absolutely amazing great job
👍are you guys still moving to the new field and what will be the name of the place?