A DIY guide on how to install a super safe 24v plug and shine garden lighting system.
Today’s Toolkit
You can view the full @PaulmannLighting outdoor lighting range here https://bit.ly/3SXBSzY
TODAY’S TOOLKIT*:
– 2m cable with 2 outputs https://bit.ly/4f1rHDw
– 5m cable 2 outputs https://bit.ly/45Xxhmb
– 5m cable 4 outputs https://bit.ly/3S20NkS
– 10m cable 2 outputs https://bit.ly/4bFUeeE
– 10m cable 5 outputs https://bit.ly/3xJulwS
– Distribution device https://bit.ly/3Wil34g
– Plug and shine controller zigbee 3.0 https://bit.ly/4bEiOwo
– 150va power supply transformer https://bit.ly/3WecI1r
– 30va power supply transformer https://bit.ly/3VWYNvr
– transformer cover https://bit.ly/3zFUcpZ
– Kikolo 3000k 20 degree https://bit.ly/3zCKpkx
– Kikolo 3000k 60 degree https://bit.ly/4eW8lzs
– Plantini 3000k (steps) individual spot https://bit.ly/4crR4MV
– Plantini 3000k (steps) expansion set https://bit.ly/4cxXFph
– Radon 3000k (tree) https://bit.ly/3xSldpy
– Gent 2 remote https://bit.ly/4cVrb85
– Twilight dusk sensor zigbee 3.0 https://bit.ly/4cTPuDb
– Kikolo RGBW zigbee 3.0 https://bit.ly/3zL6ux8
– Kikolo Tunable warm zigbee 3.0 https://bit.ly/4bA9Jop
– Smik gateway https://bit.ly/4cVwyUD
SUBSCRIBE – you can subscribe to my Channel here: https://bit.ly/3DEE2dI
LET’S CONNECT!
Charlie DIYte
— Email: charliediyte@gmail.com
— https://www.facebook.com/charliediyte
— https://charliediyte.co.uk/
— https://www.instagram.com/charliediyte/
— https://twitter.com/CharlieDIYte
#garden #lights #install
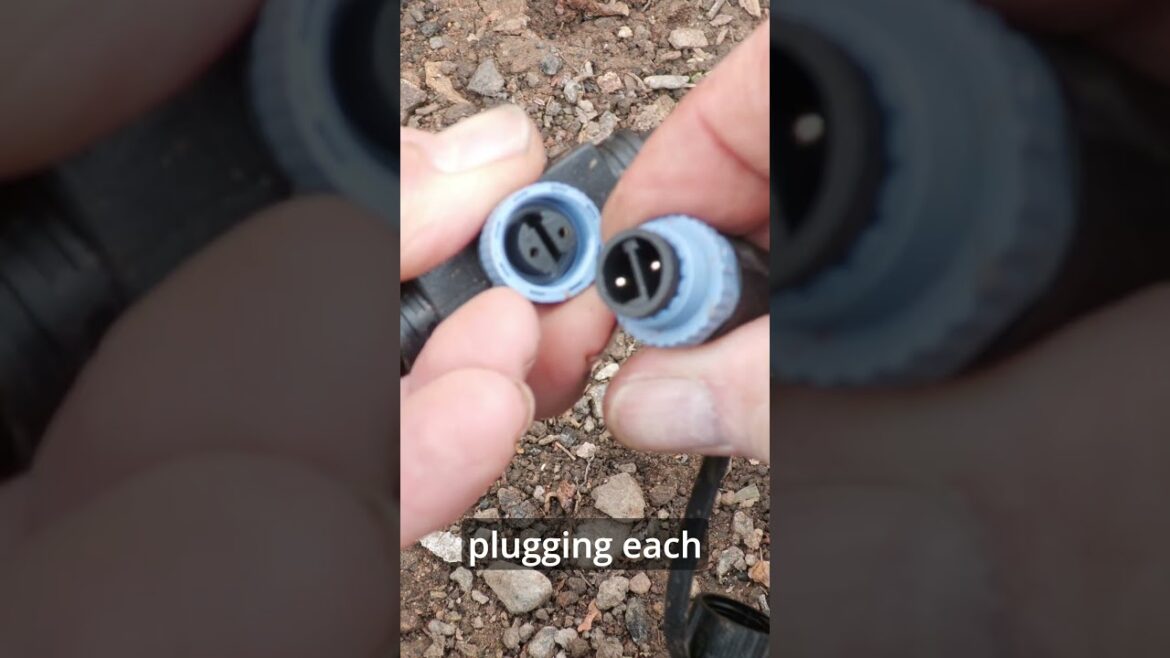
back in February I told you about a lighting project I was planning using Pullman’s plug and shine system plan was to have all these lights on two circuits a main circuit for the flower bed and tree lights and a second for motion activated lights on the staircase these lights are 24 volts super safe for garden installs and the Transformer is waterprof and can simply plug into an outdoor socket but I built a fuse box enclosure because I wanted the option of installing heating for the furniture I’ve built so my Transformers are all in this box step one was to place the lights where I wanted them as this helps you to manage the cable run then a bit of drilling to get cables to the tricky areas including across the path to the tree step two the joyful bit plugging each light into the cable and you choose your cables with the number of outputs length of cable you need for your circuits and step three you can just switch them off and on using a smart plug but for more control you pair a zigby remote to the controller or for super enhanced control pair them to the SMI Gateway or your home automation system stay tuned for the final sh on how they look or for the full install check out the main vid on my channel


6 Comments
As an electrician I replace fox / squirrel and rodent damage to garden lights on a regular basis protect cables with flexible conduit or copex👍
I did our whole back garden with this system a few years back and just love it. Was easy to set up and very easy to reconfigure. Big fan.
The only thing I have noticed thus far is that when I have had issues, it has been with the more expensive lights (spots), in particular that I have had problems with water getting under the lenses and losing the lights. The cheaper lights have basically held on and are still growing strong. Go figure. So when the expensive spots have died, I have replaced with cheaper lights…
But in spite of it all, can still highly recommend.
£1700 thats a sx#t load of cash
please stop using "vid" all the time
Those metal sockets, metal consumer units are going to get cold and collect condensation inside them unless you vapour seal your outdoor minished. IP ratings are more than just direct water ingress.
Fantastic