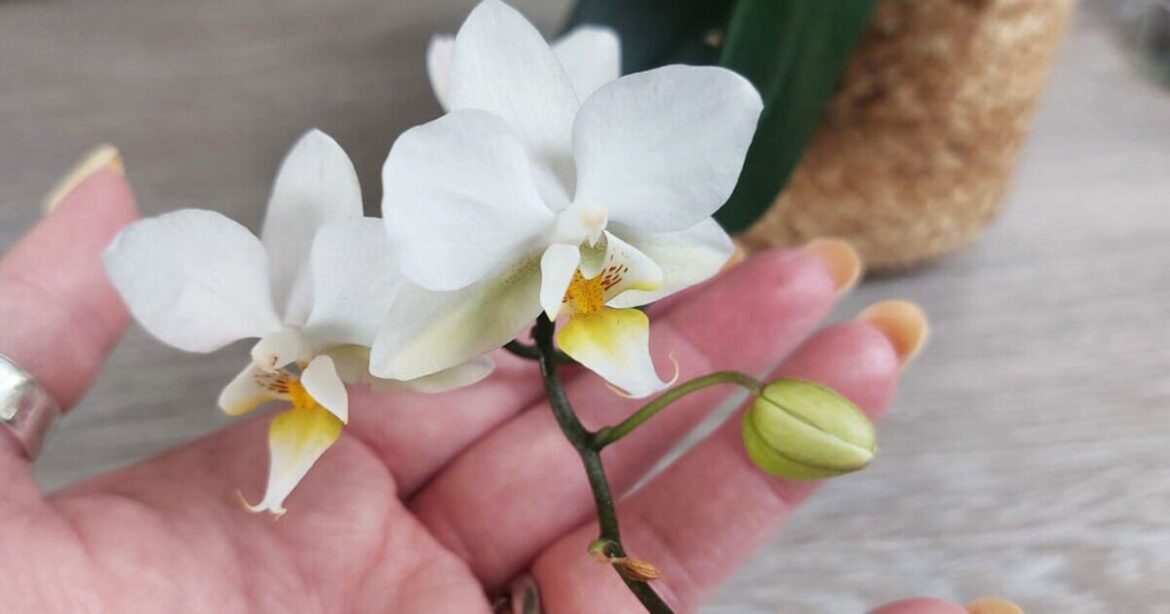
I love orchids, but I’ll be the first to admit they are not the easiest houseplants to care for. I’ve owned three orchids in total, and only one has survived. Luckily, the one orchid I have left is thriving and even manages to produce pretty white flowers three times a year. The orchid variety I have is a phalaenopsis, also known as a moth orchid, which has long-lasting flowers. These orchids can usually be found in large supermarkets and garden centres for as little as £15.
I love this orchid variety because it can bloom at any time of year, which means I often get a flush of new flowers at the most unexpected times of year. However, having failed two other orchids, I’ve learned that there are certain tasks I must do to ensure my orchid thrives and blooms throughout the year.
How to make your orchid bloom
1. Don’t water orchids too much
Less is more when it comes to orchids. If you water your orchid too often, the roots can get too wet and start to rot.
Signs of root rot include black or mushy roots, drooping leaves and an unpleasant smell coming from the pot.
Most experts suggest watering your orchid every seven to 10 days, but in autumn and winter, I actually only water my orchid once every fortnight. In the warmer months, I aim to water my orchid once a week.
The plant’s roots usually tell you if it needs water. Grey roots are a sign that it’s time for water, and green roots mean it’s had enough.
2. Feed orchids in spring
I only feed my orchids in the spring and occasionally in the autumn months. Feeding your orchid will encourage it to grow and flower. However, it’s important you don’t feed it too much.
I fed one of my previous orchids too often, and it ended up dying. Feeding your orchid every time you water it can lead to a build-up of harmful salts, which need flushing out with water, according to the Royal Horticultural Society (RHS).
I use Baby Bio Orchid food, which can be picked up in Sainsbury’s and most local garden centres. I usually add between five and 10 drops to my small houseplant watering can once a month.
3. Cut off spent stems
Learning how to prune orchids hasn’t been easy; these plants grow so slowly, cutting off stems feels counterintuitive.
However, pruning correctly ensures the plant produces flowering shoots. Once my orchid’s flowers die, I cut off the stalk just above the second joint beneath the old flowers.
Sometimes, the whole stem dies and turns brown and dry. When this happens, I cut off the stem at the base, as nothing new will grow from this.
I also deadhead spent blooms when they don’t fall by themselves.
4. Position it correctly
Orchids like bright indirect light, so finding a position that suits them throughout the year can be difficult. Most people will find they have to move their orchid twice a year, so they don’t end up getting scorched in the summer or not getting enough light in the winter.
However, I’ve found a position for mine where it receives bright, indirect light throughout the year. It’s positioned against a wall slightly behind a larger pot facing a south-facing window. I also have skylights, which allow natural light to flood into the room throughout the year.
While I have found the perfect position for my current orchid, one of my previous orchids died after a particularly hot summer. The plant was positioned on a coffee table facing a south-facing window. This was perfect in the winter months, but in the summer, the plant’s leaves scorched and eventually the orchid died.
According to the RHS, moth orchids should be positioned in bright light; east- or west-facing windowsills are ideal.
They should not be positioned near radiators or heaters or near draughts as they don’t like fluctuating temperatures.
5. Be patient
One of the most important lessons I’ve learned when it comes to orchids is being patient. Orchids grow slowly and require a careful hand to keep them happy.
Aggressive pruning, overwatering, overfeeding and moving them around your home every week will make them unhappy.

